
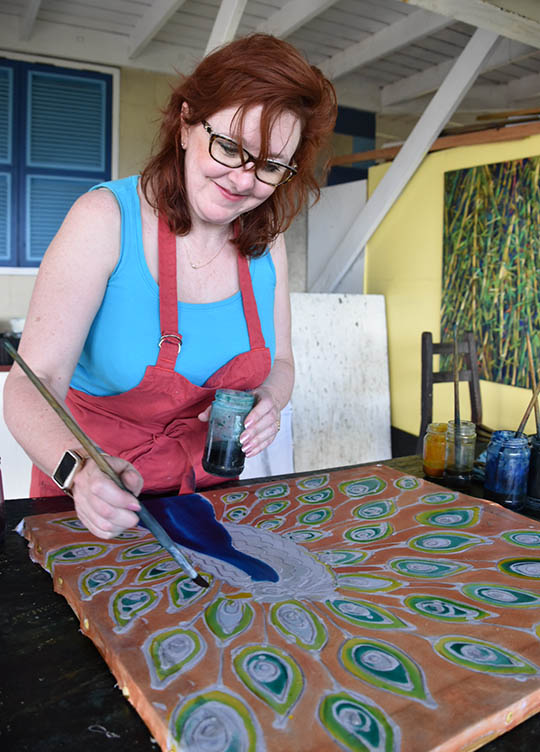
Last week while on vacation in Barbados, I had the pleasure of spending a day with Henderson Reece, learning to batik. “Hendy” is a marvelous artist and teacher. Check out his work on his website at http://www.batikartbarbados.com/
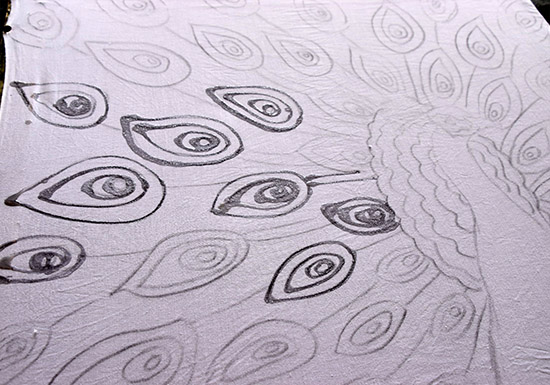
We started with a practice piece.. something to get used to using the tjantin (pronounced chantin), a tool to make thin lines of wax on the fabric. We used charcoal to draw on the cotton, which was stretched on a frame.
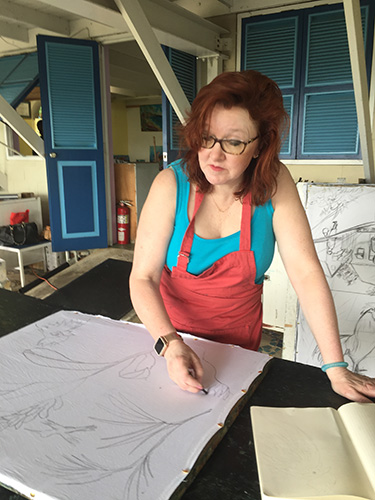
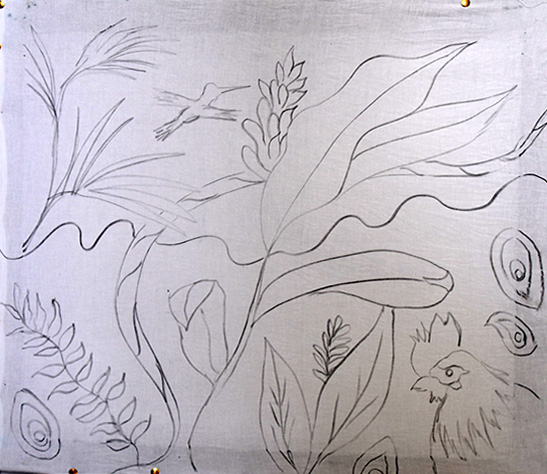
I looked out over the gorgeous landscape from Hendy’s open-air studio and drew some leaves & plants, a hummingbird and a rooster’s head, as well as lines and shapes for practice.
While I was working on my design, Hendy was heating up the wax.
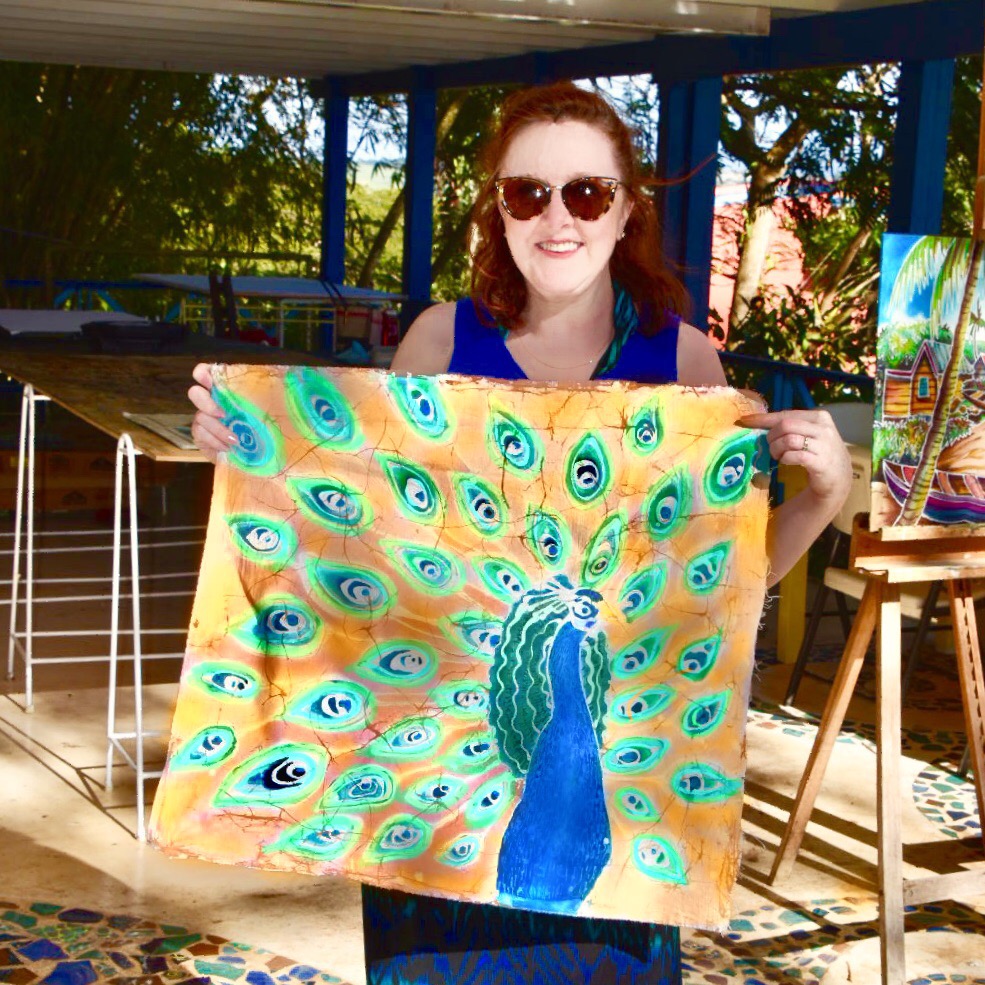
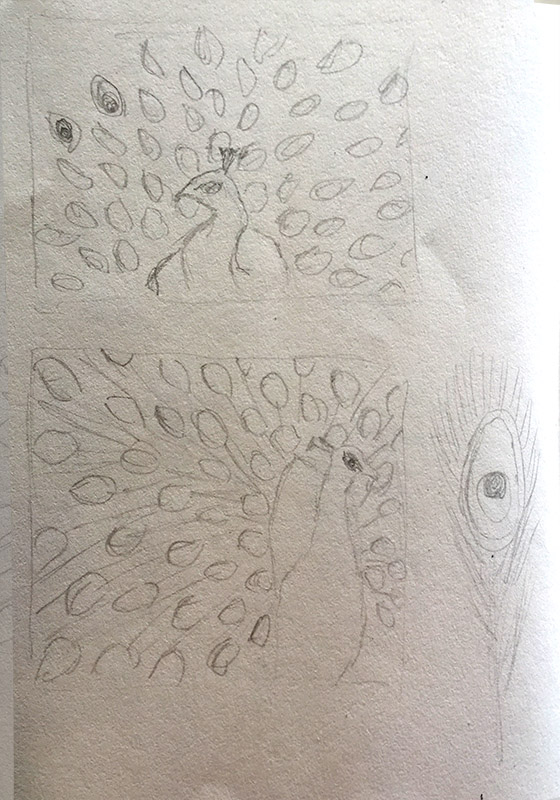
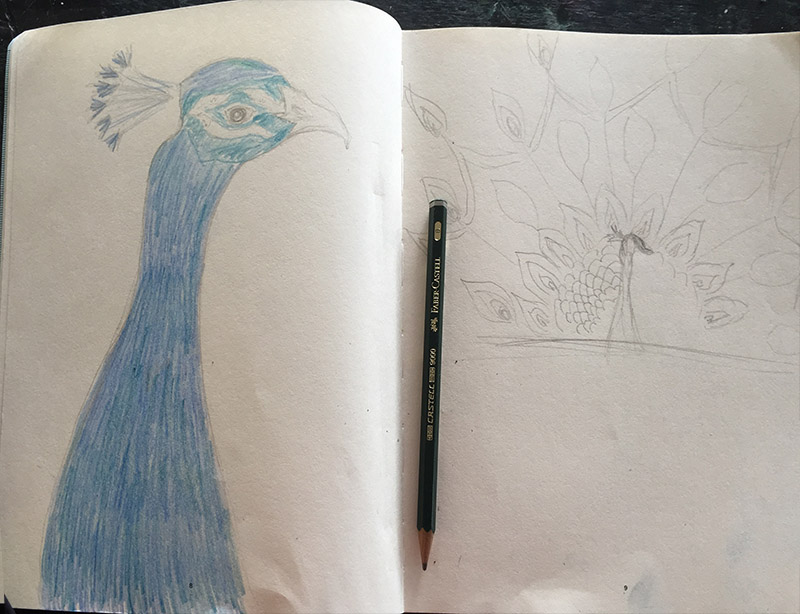
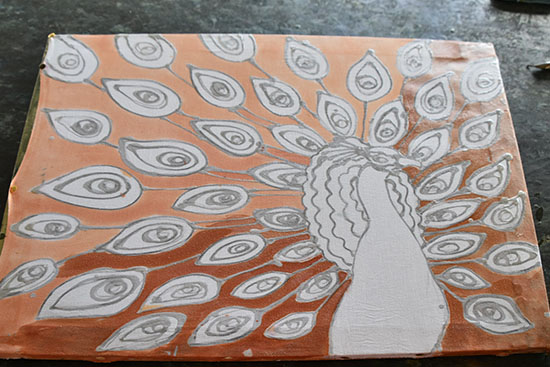
Concurrently, I then started drawing my design for my “finished piece.” I had taken photos of peacocks up at the Barbados Wildlife Reserve earlier in the week, and worked up some sketches for design ideas prior to coming to class.
I’ve got to say, using the wax in the tjantin takes some practice! It goes to show how taking a workshop like this can be so valuable. The tjatin only holds a small amount of wax- a real Goldilocks dilemma! If too hot, the wax will spread into a thick unattractive line with blobs- if too cold, the wax won’t penetrate through the fabric and the dye colors won’t be contained within the shapes. It’s clear that getting the wax “Just Right” takes lots of practice!
Batik Art Process

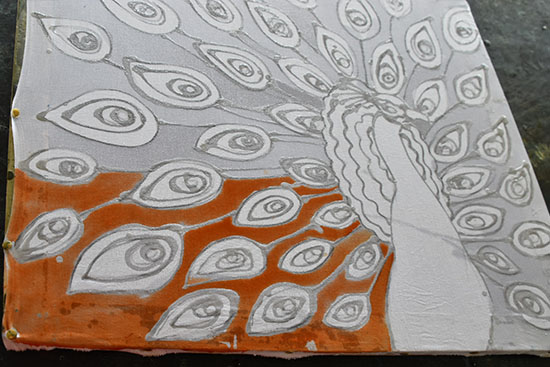
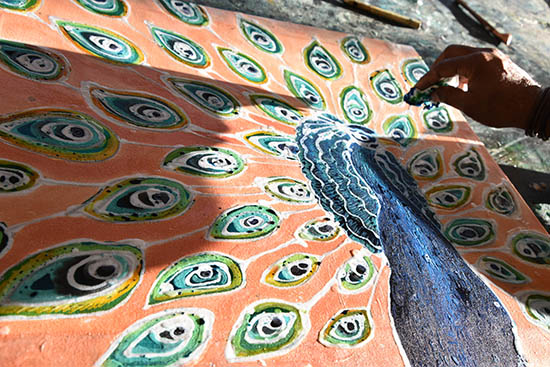
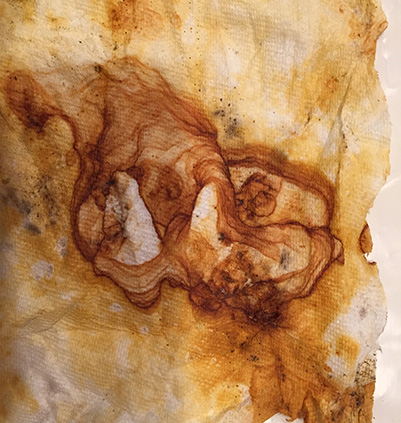
Now the dye on my peacock needs to set, so we went back to my practice piece. We painted wax over anything I wanted to stay white (the practice piece is only using 1 color of dye). Then I scrunched it a bit, to crack the wax and get the organic cracked lines through the piece. We then put it in a bucket with the Procion MX dye and saturated the piece, then hung it to dry.
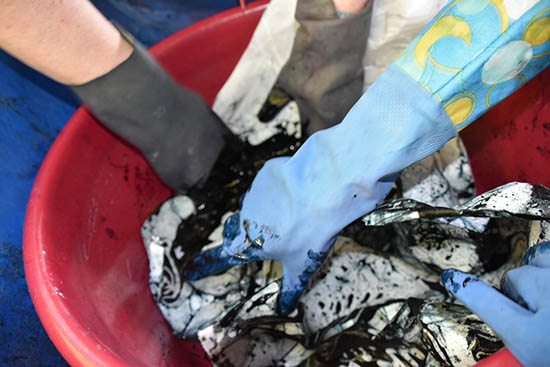
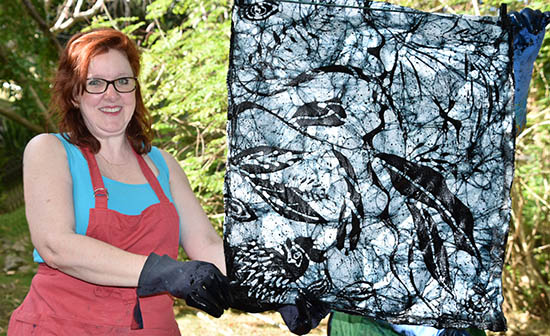
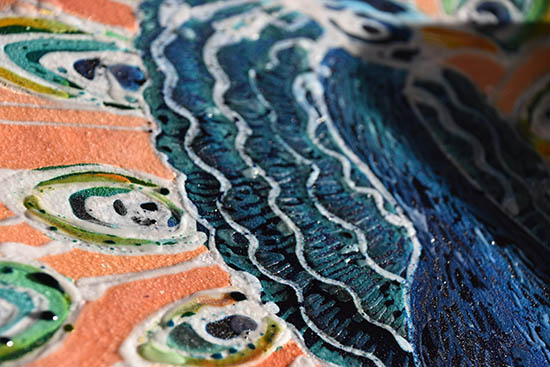
I love the look of the cracks over the piece! The final step in all of this is to boil the piece, which removes the wax.
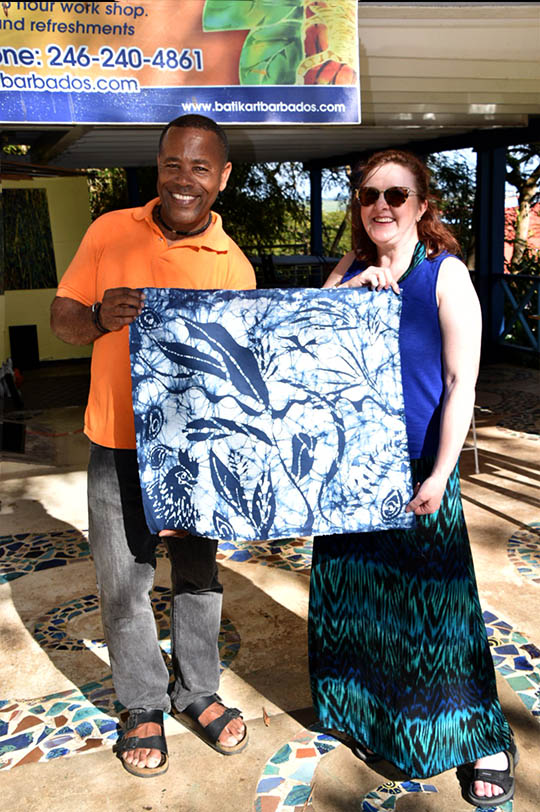
Henderson Reese Barbados Batik Workshops
I’d highly recommend taking a class with Hendy if you’re in Barbados! Here’s a link to his workshops page that has a fabulous video showing his work and the batik workshop: http://www.batikartbarbados.com/workshop.php
He also sells his batik artwork, so you can get some masterful batik for yourself, without having to learn to do it! While his typical subject matter is based on Caribbean nature and people, he’s even done commission of a polar bear! Check out his website if you’re interested in getting a piece for your home.
I spent a little time this past weekend preparing some more fabrics to sell at Stashfest, as a donation to both the La Conner Quilt and Textile Museum and the Contemporary QuiltArt Association. These pieces were mostly started at our CQA meeting playdate, where we got together to create fabrics for this fun event.

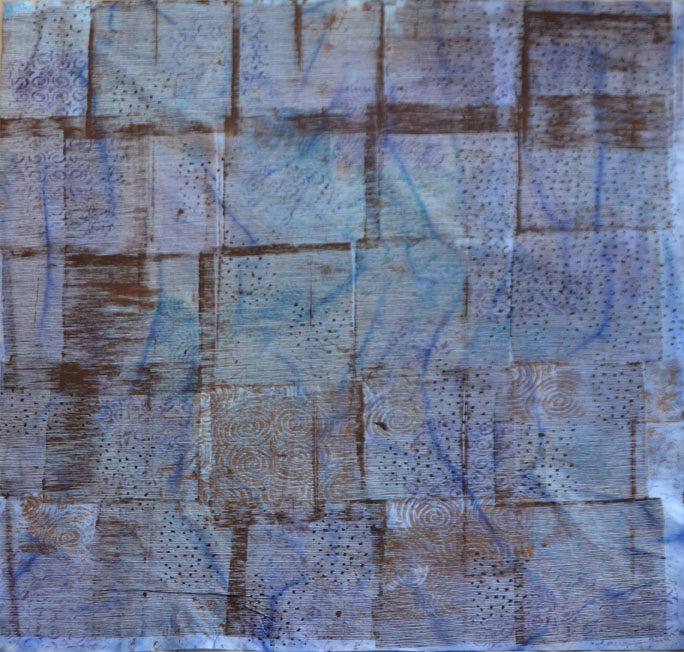
This first piece was one that I made with a variety of techniques and materials. It is approximately 1 yard square of raw silk. I started with doing different stencil images using fabric marking pens. From there, I added some bits of Shiva Oil Paintsticks, with a rubbing plate. The final step was to overdye it with Dye-Na_flow.
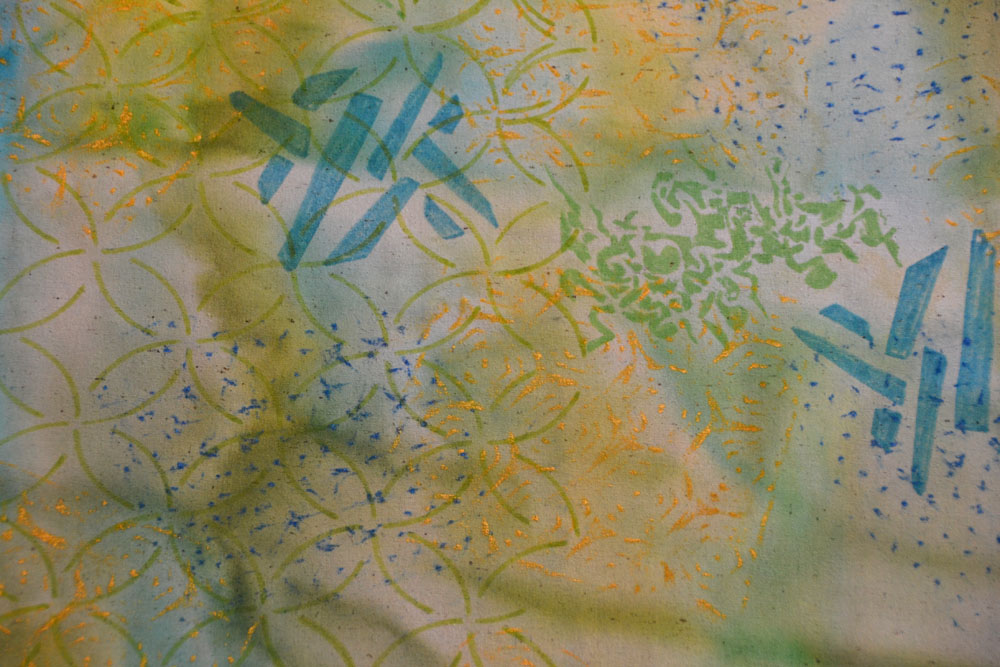
It’s a little easier to see the detail in a close-up shot.

This lovely piece was created by one of the other members of CQA, using Shiva Oil Paintsticks and a rubbing plate. I love how she overlapped the designs, giving it a “spirograph” effect. I brought it home from the playday, ironed it to set the oil paint, and then overdyed it. The darker stripes of the fuscia dye that I used are created by bunching the fabric when it is drying. You’d think the darker would be in the gullys between areas that are bunched higher up, but instead, the dye actually travels up to the higher areas.
This piece is also harder to appreciate without the detailed photo, but it’s really fantastic! Again, another CQA member did the surface design and then I overdyed and ironed to set the colors. This was made with a thermofax silkscreen, which created the brown lines. Some of these were overlapped, making the darker brown sections.
In the detail photo below, you can see the block prints and shiva paintstick rubbings that also decorate this piece. About a yard square, this is made of white cotton, which I’ve then dyed.

 This final photo is of four roughly fat-quarters of raw silk, which I’ve dyed in various green shades. If I have time, I’ll probably add more surface design to them as well.
 Speaking of time… I’m off to a 5 day class in the morning at Gail Harker’s Center for the Creative Arts. I’m finishing up the 100 level certificate classes this week (with Experimental Hand Stitch) and will be going on to the 200 level coursework starting in May. That series will take about 2 years to complete, with classes every 3 months (and lots of homework in between!) If you’re interested in seeing the kind of work that comes from Gail’s students, check out my posts on her student’s exhibition, Complex Threads. I’ll update you on how the class is going this week!
You Might Also Be Interested In:
 |
 |
 |
| CQA Surface Design Party | Viewing for Inspiration | Complex Threads 1 |
 |
| Dharma’s Retail Store in San Rafael, CA |
I’ve purchased many supplies at Dharma Trading Co. over the last few years. So, when I found out that Dharma has a retail store in San Rafael (about 45 minutes outside of San Francisco, where I’m visiting), I decided to make a trip. If you haven’t visited their website, they have almost anything and everything that you could need to dye, paint or do surface design on fabrics.
 |
| Fabric Paints |
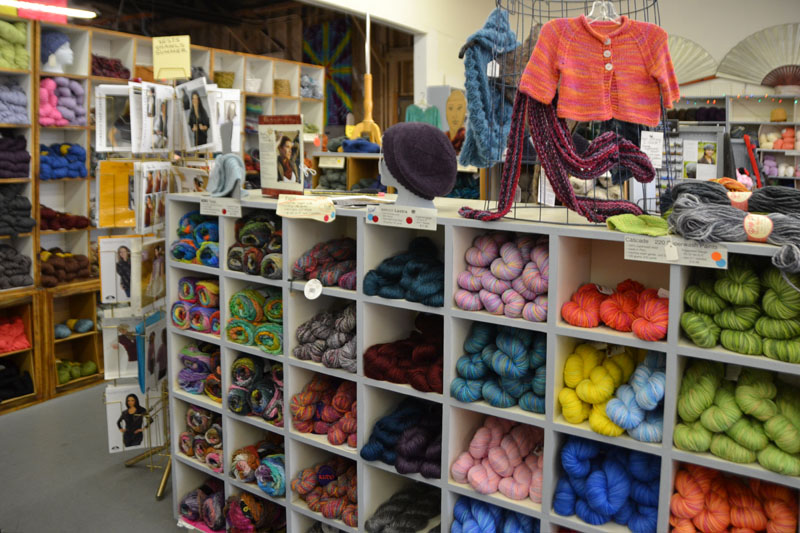
The one thing that you will find at Dharma’s retail store that they don’t have on their website is a wonderful wide supply of incredible yarns. While I’ve so far been able to restrain myself from catching the knitting and crocheting bug, I do still love beautiful yarn. I like couching yarns for different effects.
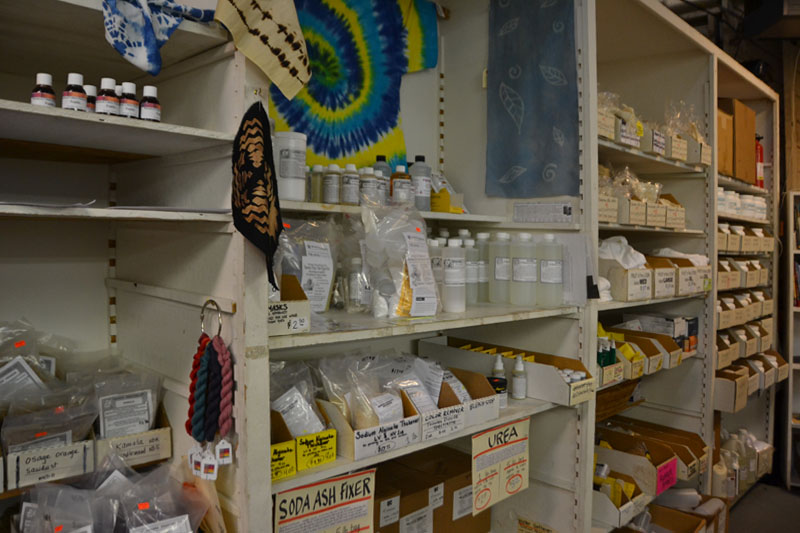 |
| Dye Supplies |
You can also purchase both silk and cotton garments (generally in white, but also in black and a few in other colors) to use for dyeing and painting. The prices are very reasonable, which makes them great for resale after you surface design on them.
 |
| Shiva Oil Paintsticks, Rubbing Plates, and Metallic Pigments |
 |
| Fabric Dyes and Paints |
 |
| Dye-na-flow and Dyes |
 |
| Custom Yarns |
 |
| Custom Yarns |
 |
| Custom Yarns |
 |
| Custom Yarns |
 |
| Silk and Cotton garments that you can dye and paint |
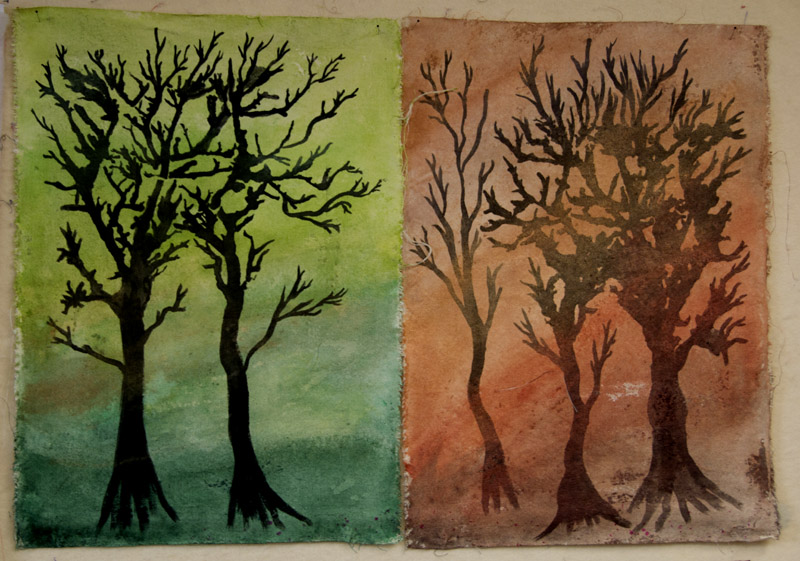 |
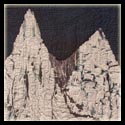
| Trees- 2 of my UFO’s that could use more paint and completion |
Now that I’ve seen all their wonderful products, I can’t wait to get back home to break out my dyes, paints and other supplies and finish up a few of my UFO’s, such as these trees. I have a few projects that I think that can be salvaged with a little overdyeing or adding some paint.
Hope you enjoy!
You Might Also Be Interested In:
 |
 |
 |
| Berkeley and San Francisco Fabric Excursion |
Recognizing Your Limits and Not Giving Up |
Developing the Creative Habit |
Check out Leah Day’s FreeMotion Quilting Project!
It’s funny, how you can be really organized in one area, yet swimming (or sinking) in disorganization in another. Like many creative types, I struggle with organization. At our local Surface Design Association meeting a few months ago, we had the topic of Time and Studio Management. We all brought photos of our studio in its current condition. We even had a $20 prize for the local Quiltworks store where we meet for the artist with the messiest studio, to encourage people to really not clean up before our session. Well, since I offered the prize, I didn’t have to shell out any money when it was unanimously decided that my studio was the worst! No, I’m not going to share those photos online at this time… maybe when I get to know you better.
On the other hand, I’m extremely organized in some areas… in setting and attaining goals; in developing organizational systems; in project management. For instance, today I put together 3 different proposals for exhibition venues for the Contemporary QuiltArt Association (CQA.) Two were for well-known musuems and the third for a city hall gallery. Putting together proposals such as these requires a lot of organizational skill. You need to find their requirements and do your best to follow them explicitly. You need a personalized cover letter, artist statement, biography, artist resume, and images of your work. The images needed to be picked and formatted to each venue’s specifications. I’ve been very successful with my exhibition proposals in the past and hope that I will be here again in the near future. (I’ll let you know where the museums/galleries are if we secure them.)
This year I’ve made slow incremental progress in gaining control over some areas of my life. First and foremost, I lost 30 lbs that had been slowly creeping on over the last few years. Next, I’ve been keeping up with putting all my clothes away (anyone else have oodles of laundry?) and making sure to keep my closet cleaned up. Then, I moved towards keeping the corner of my bedroom clean, where my books, quilt magazines, art projects and miscellaneous junk pile up from whatever I’m working on or reading before bedtime. And now, I’m working on the studio.
Part of my problem is that I’m blessed with a large home. So, whenever I run out of space, I just move on and work in another area. I also love to work in the evening in front of the t.v. However, theis requires bringing a bunch of things from my studio into our “adventure” room (family/tv room.) I also am one of those people who just love to learn new things. So I have supplies for all of them. I’m working now at developing a place for each type of supply… a drawer of thermofaxes, a bin for stabilizers, all my scissors put away in the same place, so I always know where to find things.
 |
| The outside of the old fruit processing plant |
But, again, you can only do so much cleaning and organizing until you are cutting into your art time. Today, I did some dyeing-the wool Viking tunic my son made. Too much time has been spent in front of a computer screen. I never did claim that I was great on the time management side, now did I?
I promised a few days ago that I’d post some photos from the Mighty Tieton gallery. Enjoy!
 |
| You walk through part of the old warehouse… |
 |
| … and open the huge Cold Storage door |
 |
| To a beautiful gallery space |
Happy Thanksgiving! I am so thankful today to have had a relaxed joyous day with my family, as well as being able to do many of my projects. My sweet husband did much of the cooking, to help keep me out of the kitchen, as I’ve worked very hard this year to get down to my goal weight by losing 30 lbs (and keeping it off.) I do love to cook, but I knew I’d be tempted to taste all day long! He did ask my support in one thing, however… clearing some space in the freezer for the leftovers.
Well, that meant that it was time to get into my dye studio- I had to use up the snow I’ve had in the freezer since last winter- time for snow-dyeing! It’s also a great way to use up some left-over old dyes. While the colors may not come out quite as rich or vibrant, I’ll always be able to over-dye or do additional surface design on the fabrics. So I prepared 4 separate yards of cotton, put each in it’s own container, packed the snow on top, and poured 3 colors of dye onto each one. It looks like giant snow cones!
 |
| Ryan, my Viking warrior |
Since I was already dyeing, I also mixed up a fresh batch and dyed a couple yards of linen. I’ve never tried dyeing linen before, nor is it a material I use in my artwork. The things we will do for our children! My son, now 17, is fascinated with Viking culture and hopes to go into anthropology and/or archeology. He’s found that there are Viking re-enactment groups, similar to the ones that put on Renaissance fairs, and has talked me into going to a holiday “Good Yule” celebration in full Viking dress. Of course, it has to be authentic! Last week I taught him basics of sewing on my Bernina (ok, not so authentic that we’re going to sew it by hand!) and he made his own Viking tunic out of wool. He’s still deciding if he wants me to dye it or not (it’s currently a beige-brown.) The linen I’m dyeing will be for a Viking apron, the style which they wore around the tenth century. I’ll make sure to post the pictures when we have our outfits complete!

I’ve been working on encouraging my Mom to start back to sewing again, so she brought over her machine and a Christmas table-runner project which she had started. She was having some problems with mitering the binding. It’s easy to get confused with a mitered binding if you are used to making a mitered border on a quilt. The process is a bit different, since you’re turning the finding to the back side. She also some a 60 degree angles, which I admit I had to look up how to bind. Thank goodness for Google!
Once I had my Mom going, I started working on some freemotion quilting samples from the wonderful collection by Leah Day on her FreeMotion Quilting Blog. If you are interested in improving your quilting stitches, I can’t recommend Leah’s blog highly enough. Here is the “Calm Sea” design which I stitched this afternoon. I have several notebooks of practice samples such as this, which I keep adding to on a regular basis. Then, when I am ready to stitch a project, I can look through my samples and think about what would work best for the piece.
Tomorrow I’m taking off with my husband for a few days, so I’ve packed my sketchbooks and look forward to looking for new design inspiration, as well as working on thinking through some of what I’d like to accomplish in the year ahead.