We continued our shopping trip in the Grand Bazaar with an eye on textiles. Oya is a traditional Turkish craft of making lace, generally for edges of scarves but also for home decor or clothing. The lace is made in several different ways, but most frequently as either needle lace or with a small crochet hook. I’ve been fascinated with Oya since I first encountered it… one day I hope to find a craftswoman who makes it and get a lesson! So in my research for places to visit, I found a shop that specializes in this art form called “IstanbulOya”.
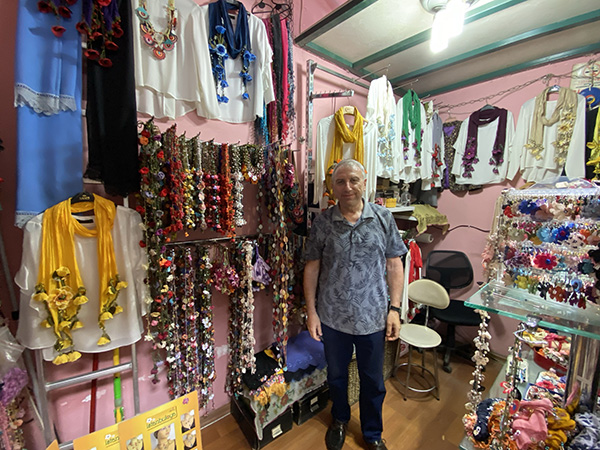
IstanbulOya filled with needlelace and crocheted delights!
The proprietor at IstanbulOya was very friendly and had a fabulous selection of different Oya products. Many of the Oya that are made are 3-D flowers, some quite delicate and others larger-scale art wear. They do ship worldwide, so check out their website at https://istanbuloya.com/ But if you make it to Istanbul, I highly recommend a stop at their shop if you’re visiting the Bazaar! Their website has directions on how to find them from 3 of the main gates.
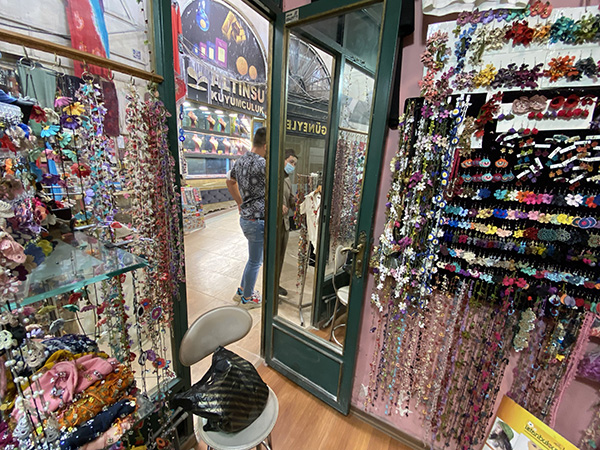
Another view of the IstanbulOya shop.
Since my next destination after Istanbul is to go to our grand-nephew’s wedding, I thought I’d pick up some silk scarves for the bridesmaids. Prices are incredibly reasonable compared to comparable products in the US. I was able to pick up a nice selection for both the wedding party and also the women family members I’ll be seeing from “Istanbul Pashmina”.
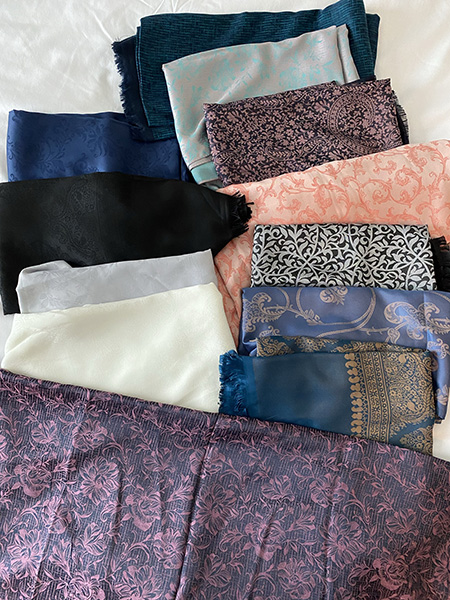
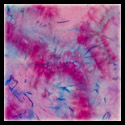
Selection of beautiful Turkish silk scarves
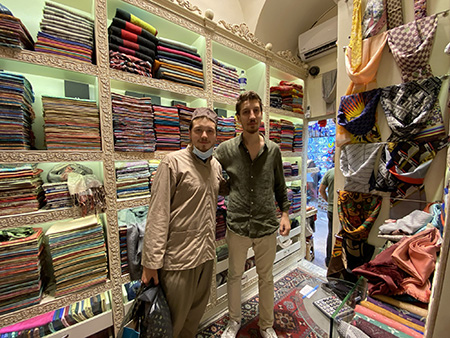
Son Ryan helped carry my purchases from the scarf store and more!
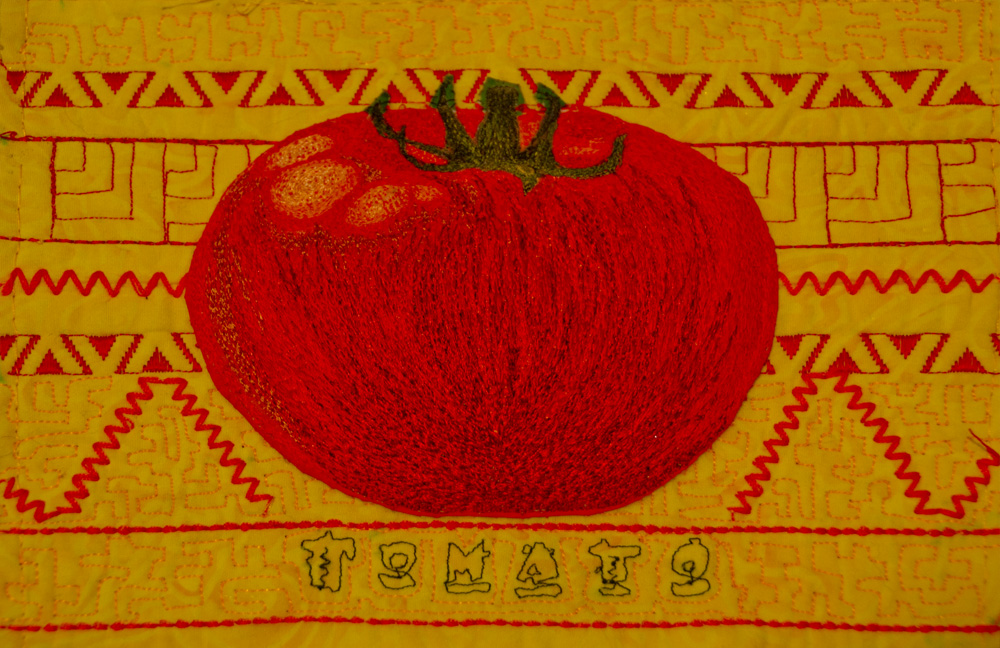
The guys will be getting Turkish delight and other Turkish delicacies. I also found some shops that sold some embroidered scarves, which are quite gorgeous. I picked up a few of these, too.
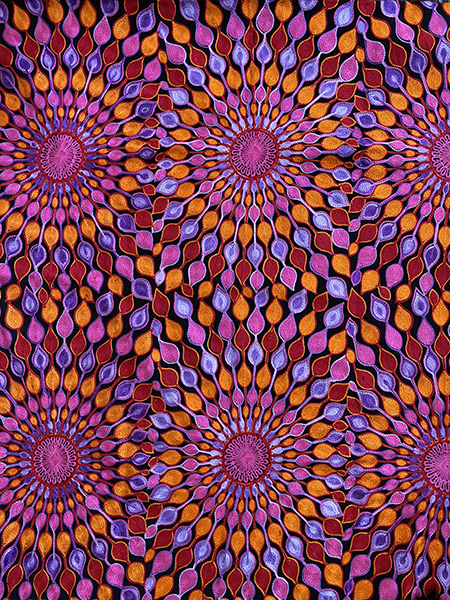
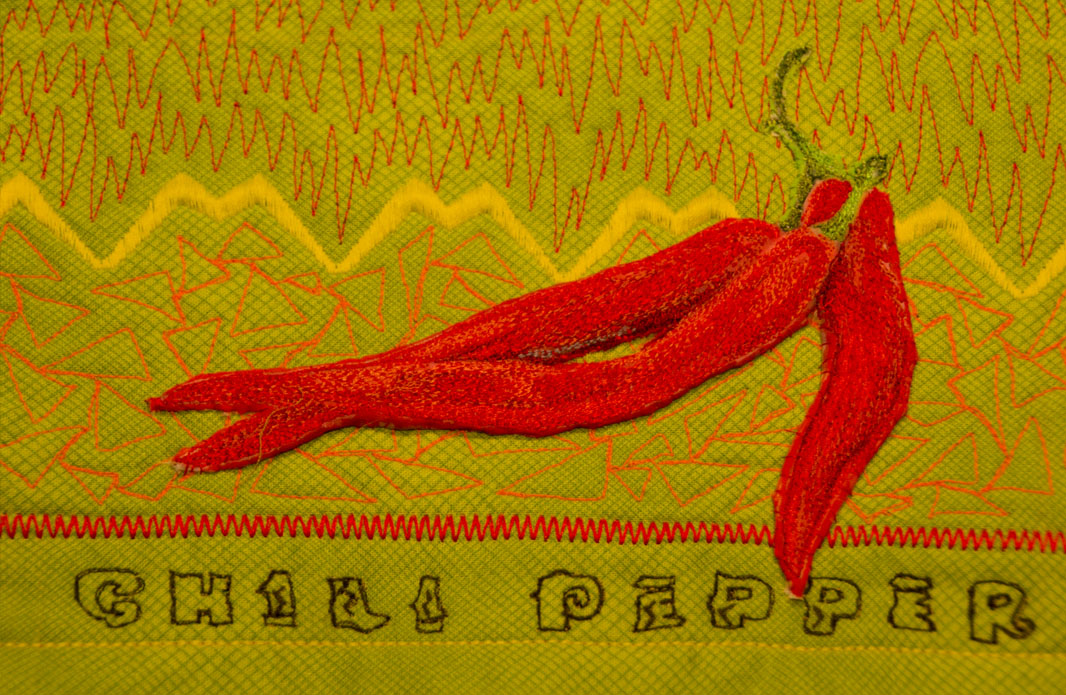
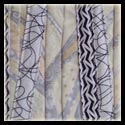
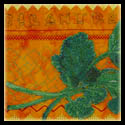
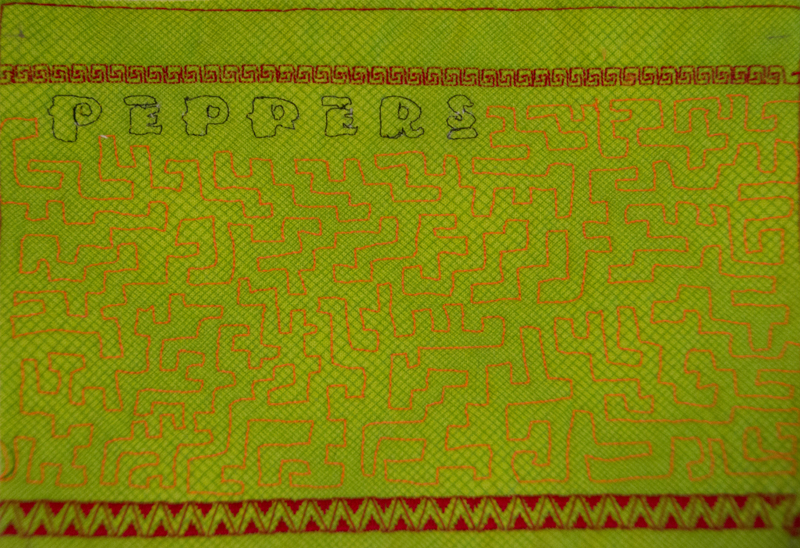
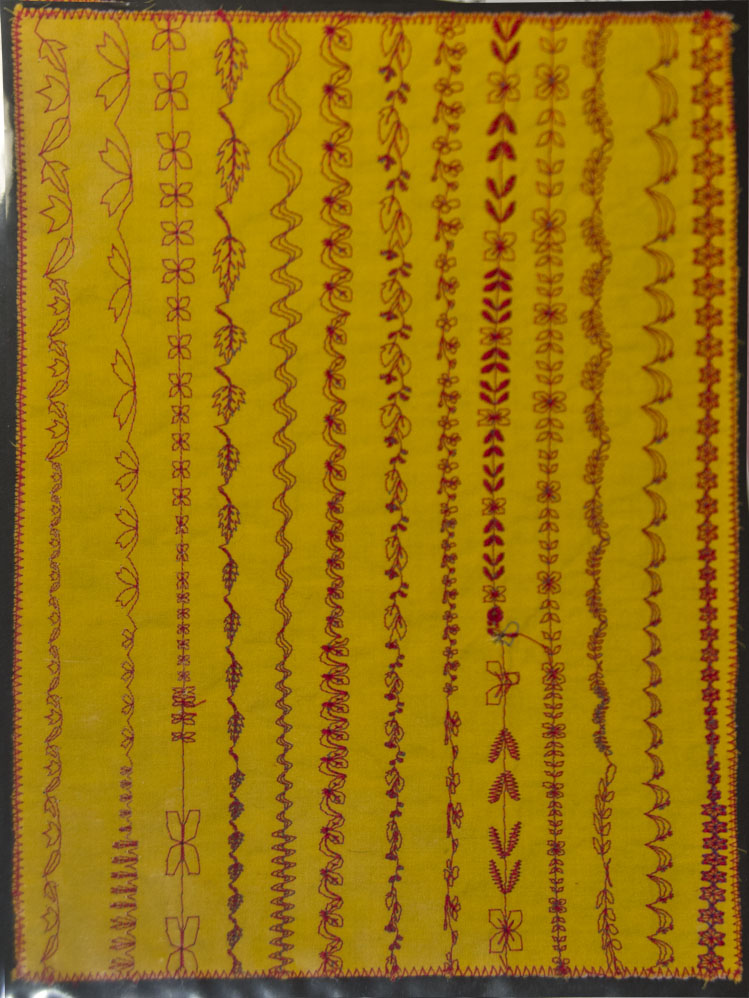
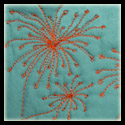
Embroidered scarf
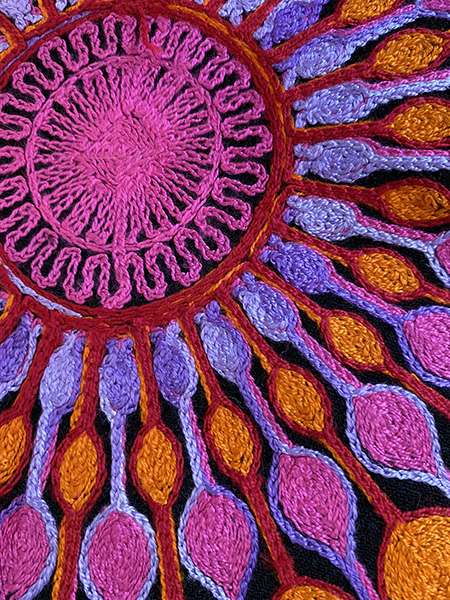
Embroidery detail

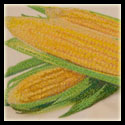
Embroidered scarf
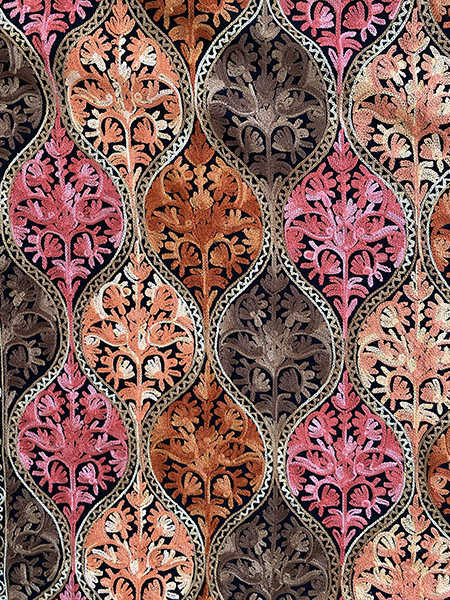
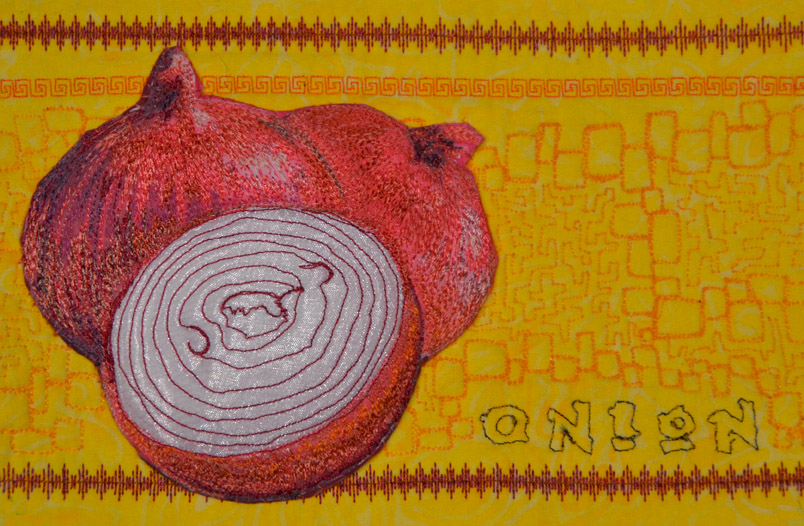
Embroidered scarf
The Bazaar is a feast for your senses… sights, smells, tastes sounds, the textures of the fabrics…. I could go on and on. But I’ll leave you with a few more textile photos that will whet your appetite to get yourself to Turkey one day!
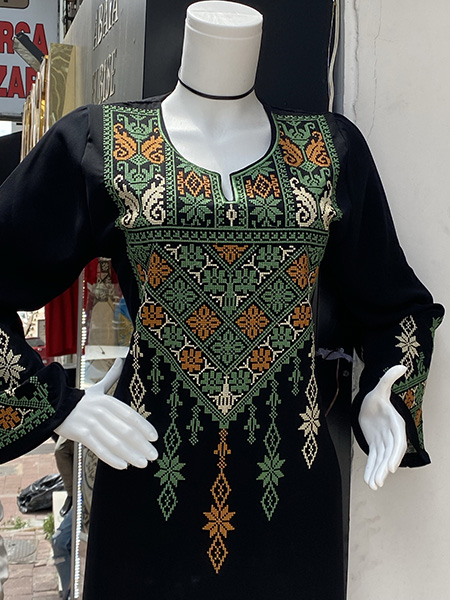
Beautiful Palestinian embroidered thobe.
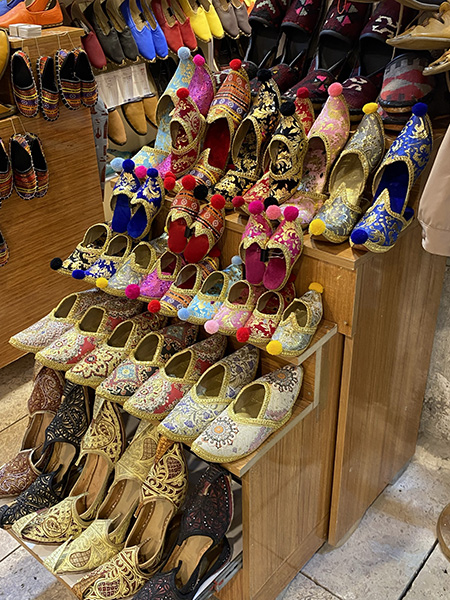
Embroidered shoes
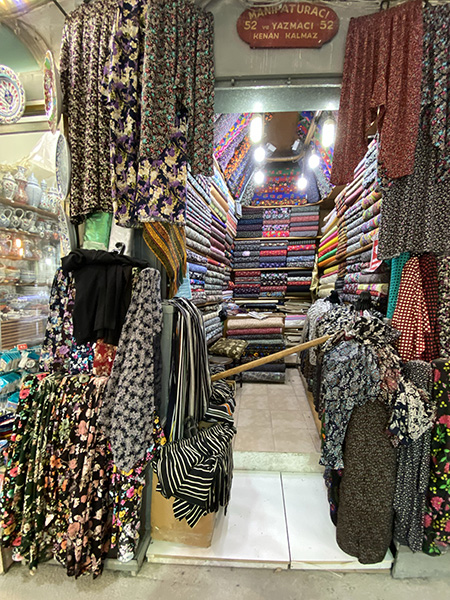
Fabric store

Another fabric store
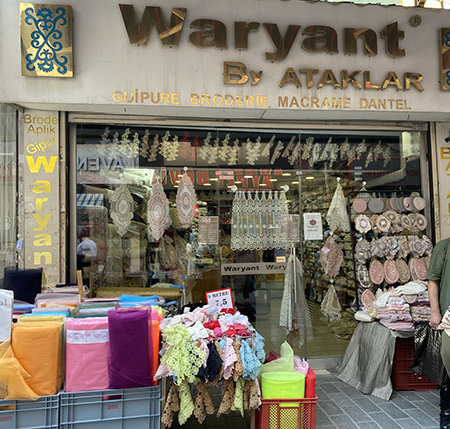
Lace store
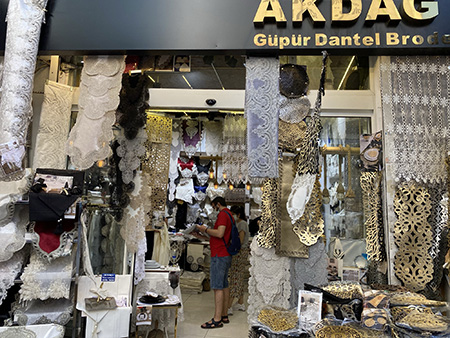
Lace store
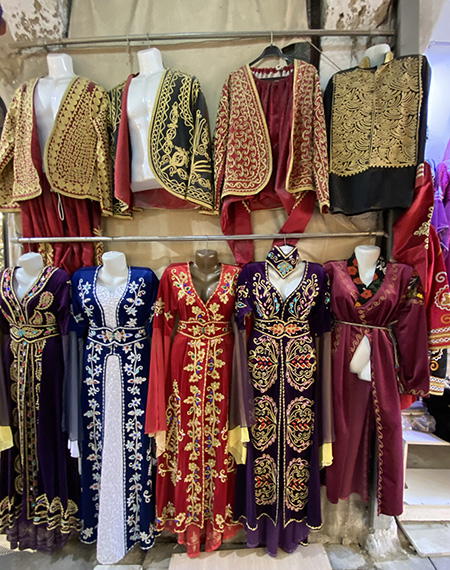
Turkish gowns and vests with goldwork embroidery
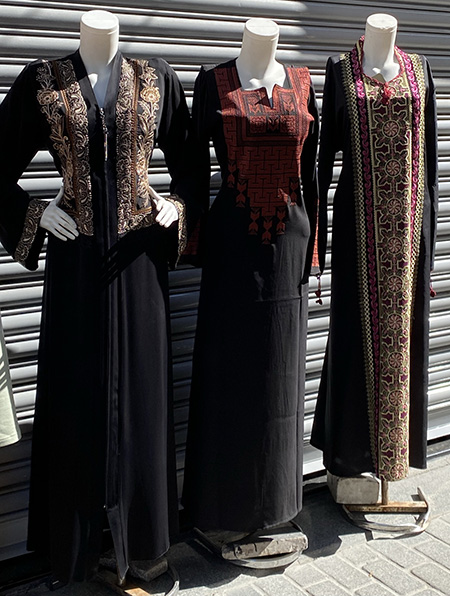
More embroidered thobes
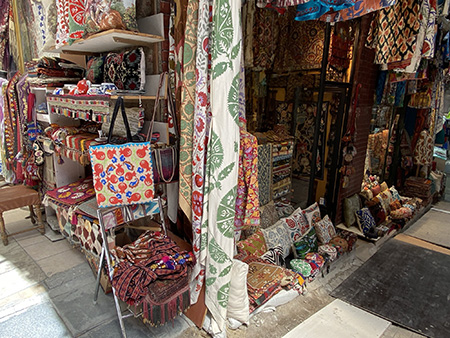
Bags, pillow shams and other embroidered housewares