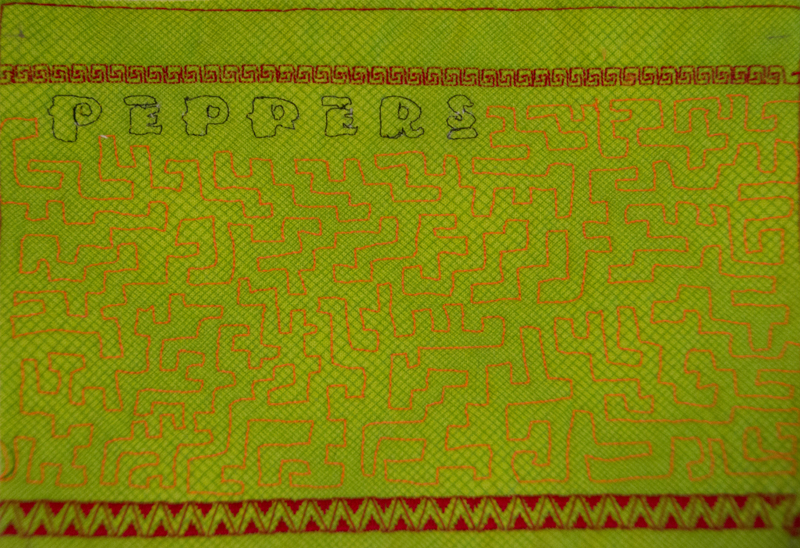
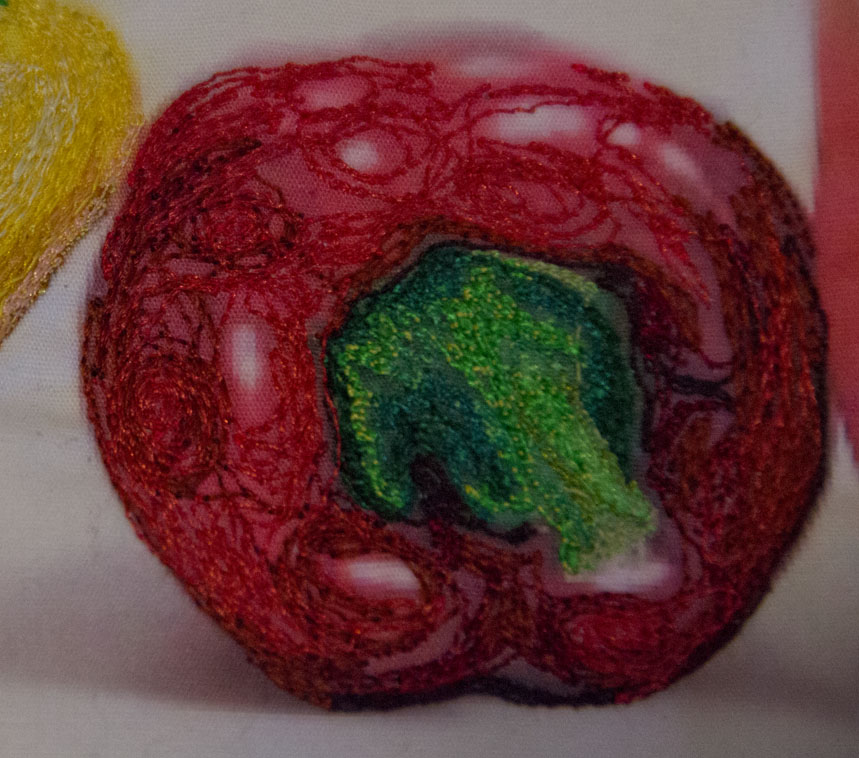
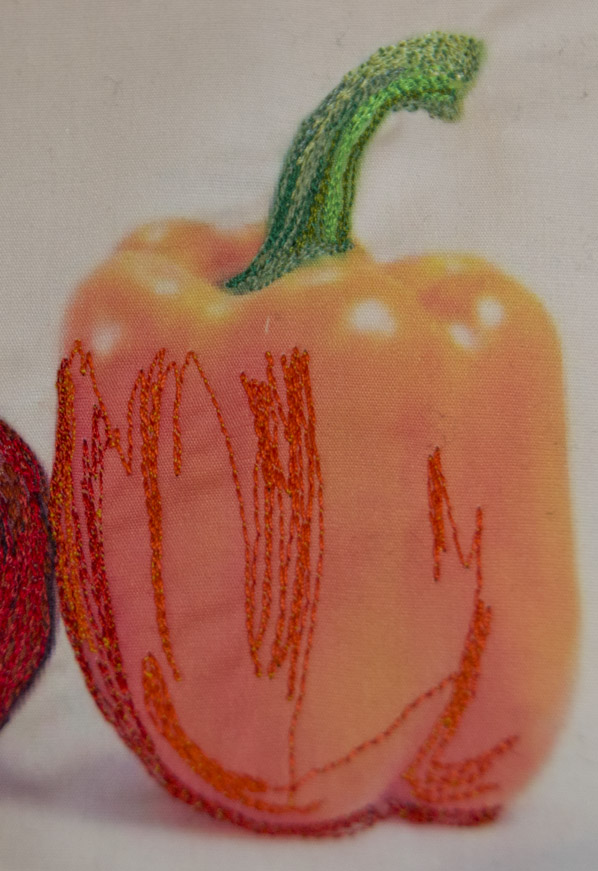
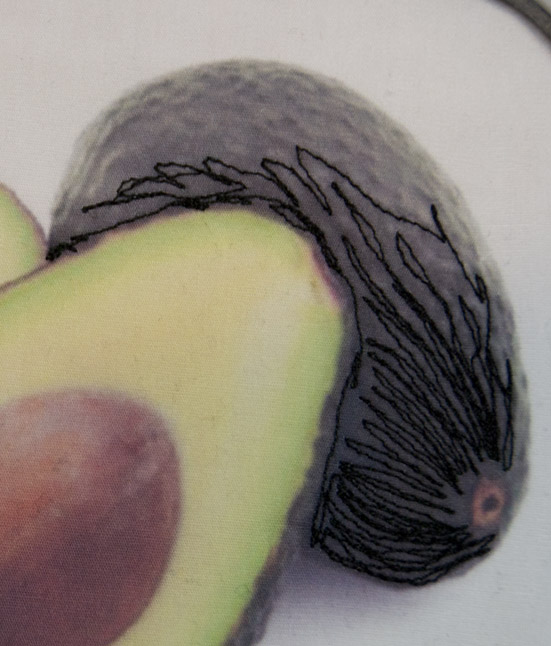
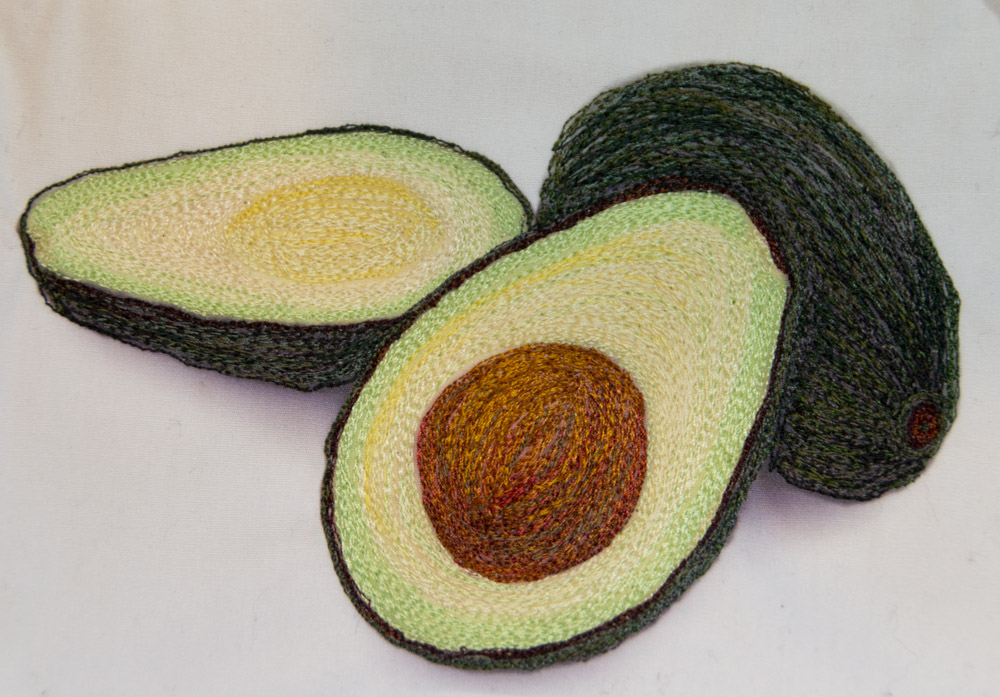
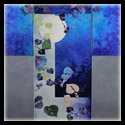
Only 3 more 5 x 7 pieces to go for my Salsa series! They’re looking good all together. I was a little worried that this red background might be too dominant with the rest of them, but it turned out fine. I wanted the complementary color to the green of the avocado, and the dark skin of the fruit allowed me to use something quite bold… there’s no way that the pieces will fade into the background. I’m still trying to figure out how I’m going to tie all the pieces together- I’m leaning towards black sashing that is freemotion quilted throughout. I’d love to hear any thoughts or suggestions you might have about putting these pieces together into a quilt.

Yesterday I was reading one of my old favorite inspirational books, Simple Abundance: A Daybook of Comfort and Joy by Sarah Ban Breathnach. Each day of the year has a separate little essay that looks for finding joy in your everyday life. I’ve had this book and referred to it for probably about 15 years (it was published in 1995.) It’s a lot like a wonderfully inspirational blog! Anyway, the entry for March 4 is called “Priming the Pump for Inspiration” and uses the analogy of how you used to have to pour water into a pump to get it started. Likewise, as artists, we need to feed ourselves images and experiences to keep the flow of creativity.
Similarly, Twyla Tharp, the famous dancer and choreographer, talks about setting rituals to get your creativity flowing. If you set up a structure of doing the same thing each time you sit down in your studio (or on the way to your studio)… something that is inspirational, or centering, or creates peace for yourself… you will start to get greater access to your creative side.
I can’t say that I’ve got this process of ritual down at all. I do lots of things to “prime my pump”, whether it be taking photos, cutting out images from magazines and putting them in sketchbooks, or reading books and blogs which I find inspirational. But, typically I feel a little pressed for time and that I need to produce when I’m in my studio. I’m rethinking this. Perhaps I would be better served creatively to take the extra time, slow down a little bit, and follow a set ritual each day to start opening up my right-brain creative side.
You Might Also Be Interested In:
 |
 |
 |
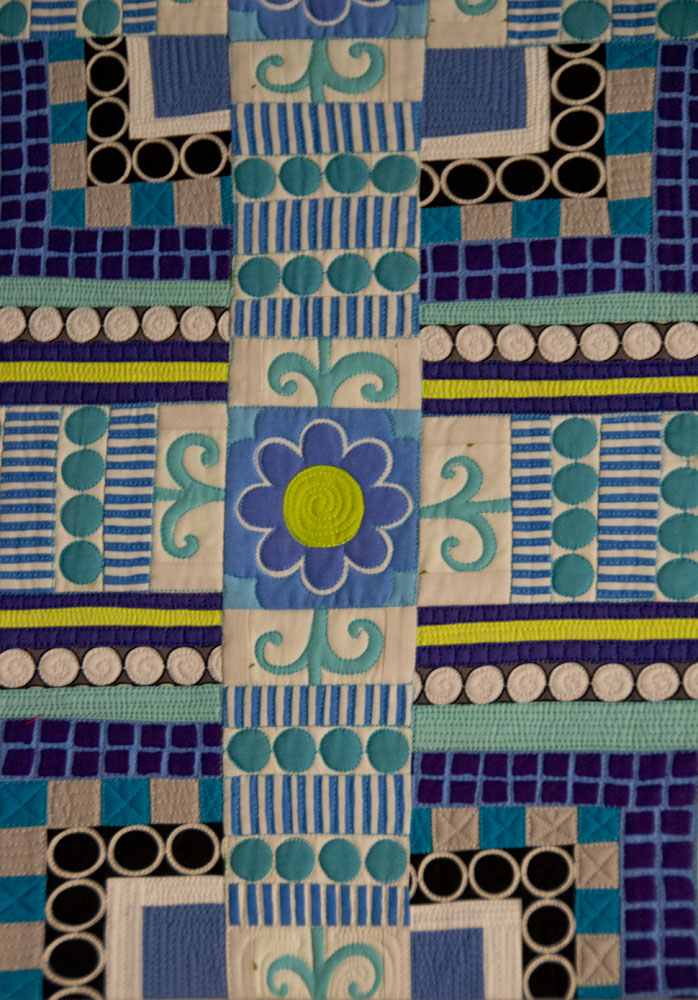
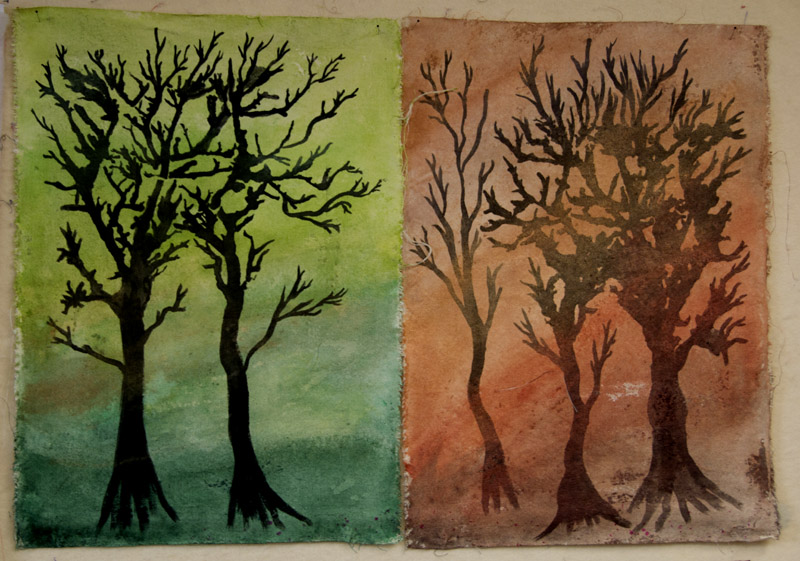
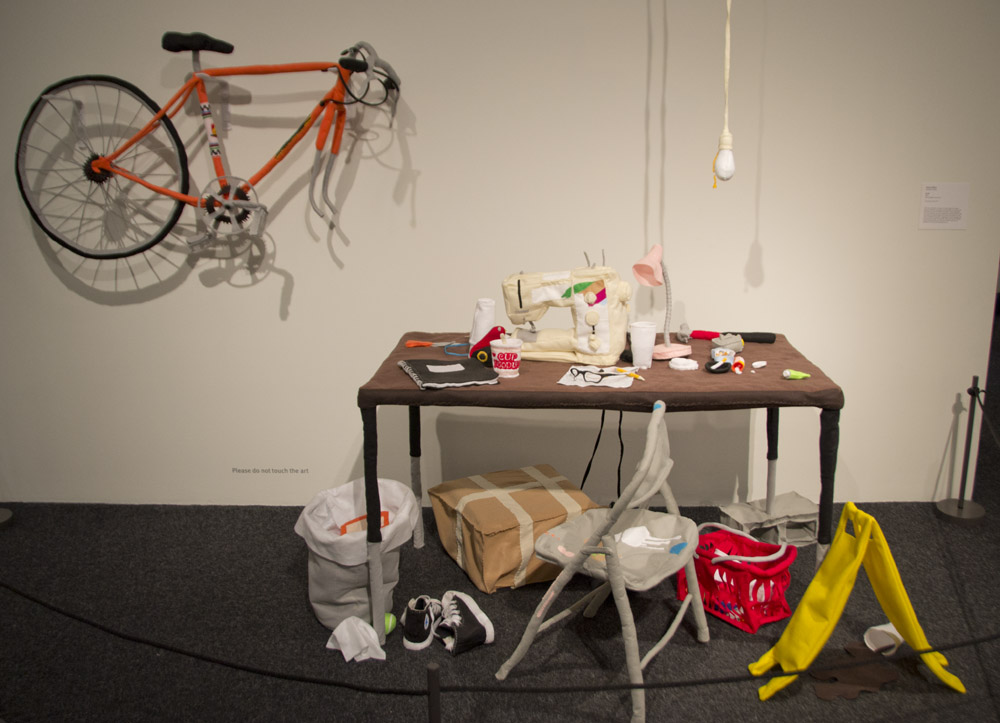
| Developing the Creative Habit |
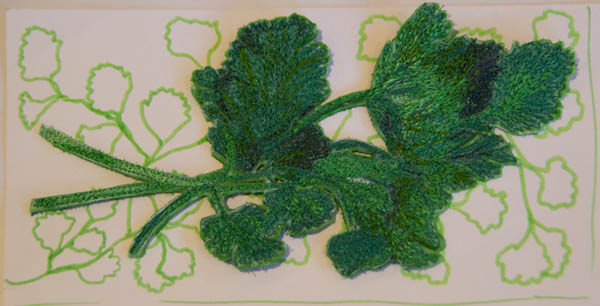
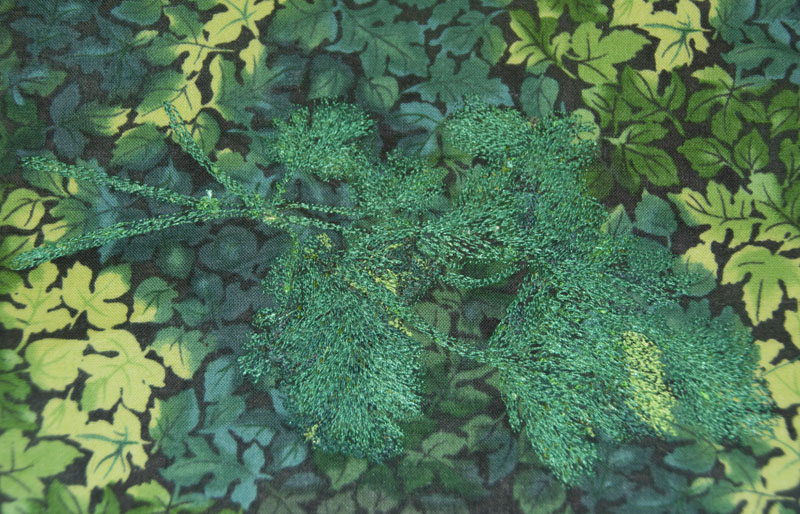
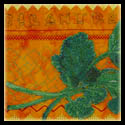
Peppers and Avocado | Cilantro – Si! |
Some of my Favorite Blogs:
Leah Day’s FreeMotion Quilting Project
Connie Kresin’s Freemotion by the River