 |
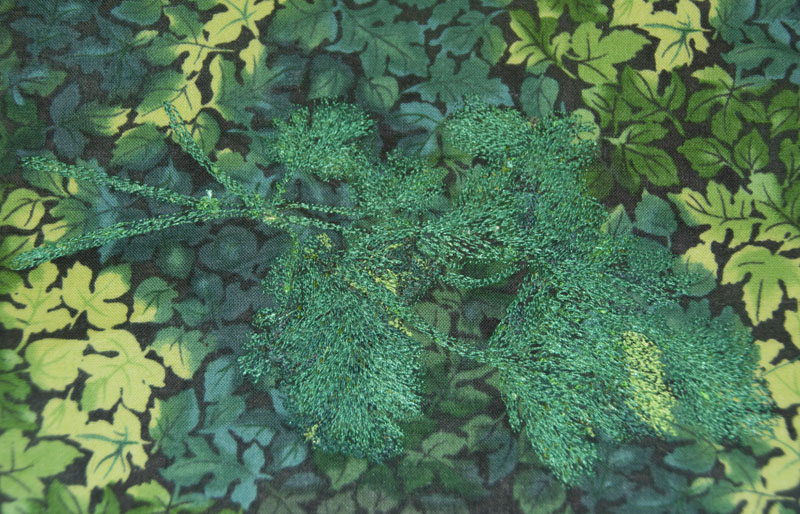
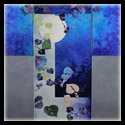
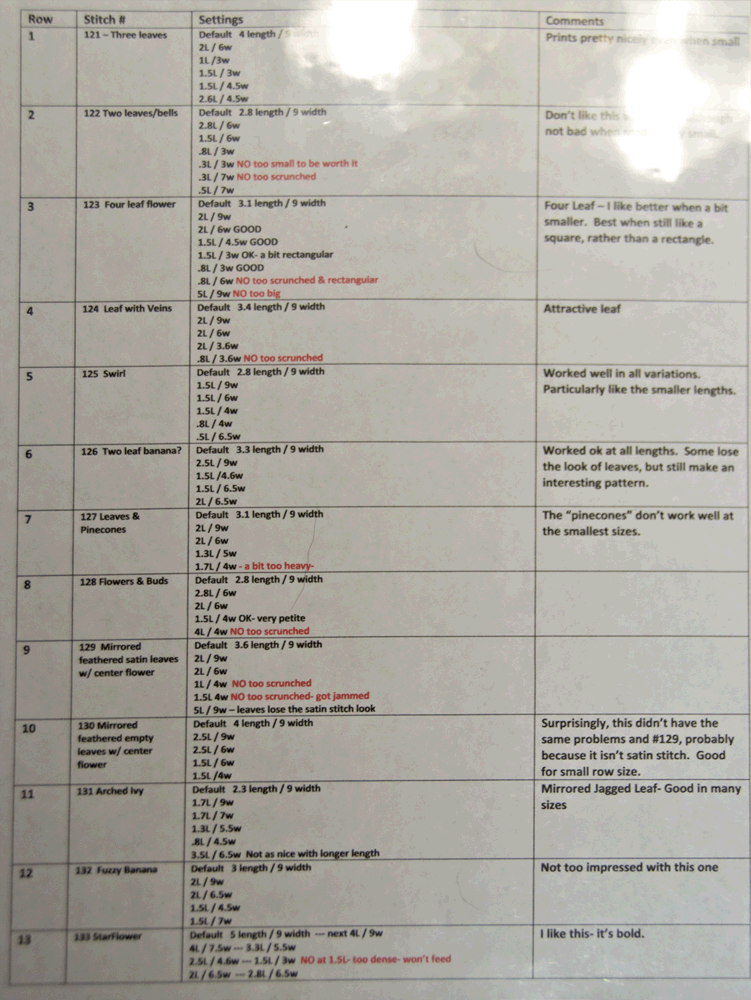
“Twasser’s Pitcher Plant” by Susan K. Lenarz
Mixed Fiber and Stitch ($1500.) |
I’ve recently been reading The Creative Habit: Learn It and Use It for Life by Twyla Tharp. A famous dancer and choreographer, Ms Tharp has written an inspirational treatise which is cross-disciplinary for all creative persons. In fact, the approach Ms. Tharp uses really could be used for anyone who wants to be more successful, whether in business, scientifically, artistically, financially, or any other type of endeavor. While I’m only partially through this book, I’d like to share some thoughts that I find particularly useful.
 1. Figure out what is the one tool that feeds your creativity and is so essential that without it you feel naked and unprepared. From now on, don’t leave home with out this tool! This could be a sketchbook and pencils, a camera, a stitch project, knitting, or any other item that you find helps spark innovation and creativity.
 |
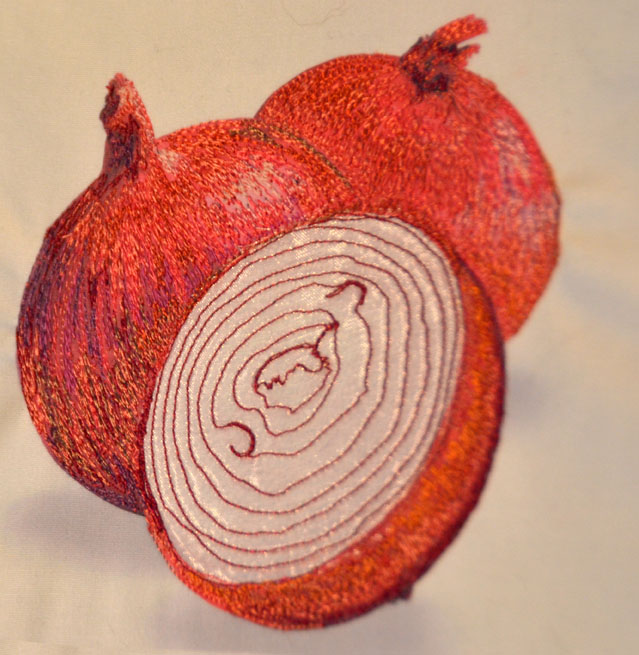
“Twasser’s Pitcher Plant” detail
by Susan K. Lenarz |
2. Build up your tolerance for solitude. Creation is generally a solitary process. When you have solitude with a goal or purpose, it’s not debilitating. Learn to accept quietness without loneliness. Your goal/ idea/ purpose can be your companion. Being alone is just a condition where no one else is around. Being lonely is one way you can choose to feel about being alone. Choose to feel inspired by your time alone instead. Solitude is an unavoidable part of creativity. Self-reliance is a happy by-product.
 |
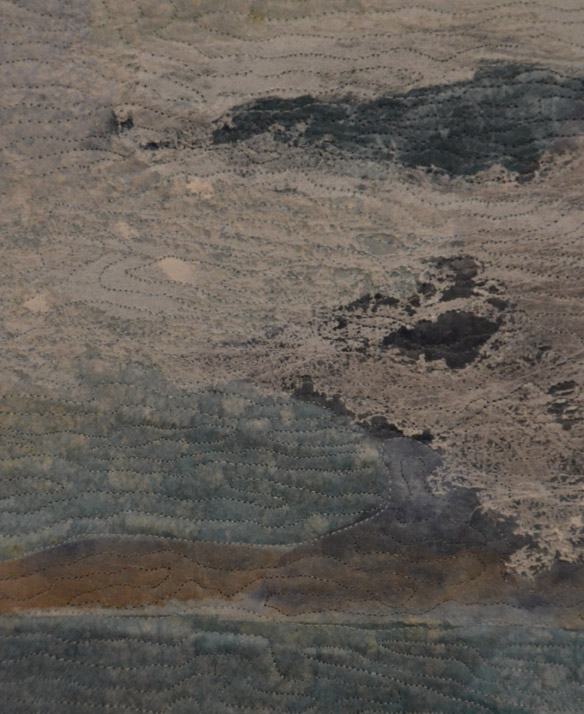
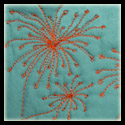
“Dennis on the Colorado” by Maria Winner
Fiber ($2500.) |
3. Face your fears regarding your creative endeavor. While each of us will have different things that hinder us due to fear, I’d like to share my personal fears:
- Someone will have done it before
- I have nothing to say
- Once executed it won’t be as good as in my mind
- People won’t like my work– I (or my work) won’t be respected or appreciated
- I’m not sure how to do it
- It may take too much time
- Cost
- It’s self-indulgent
- My family won’t support me or will feel I’m not there for them
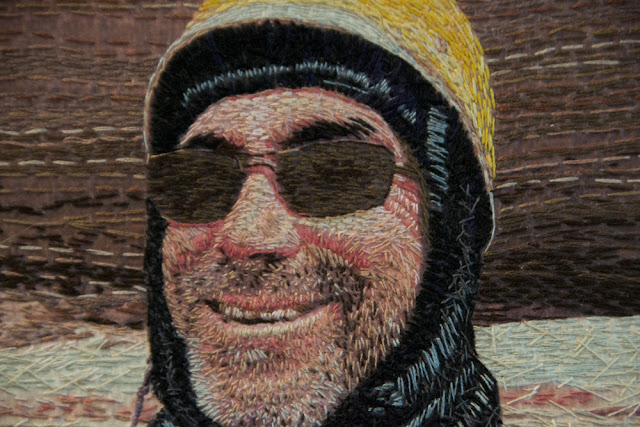 |
| “Dennis on the Colorado” detail by Maria Winner [Isn’t this stitchwork exquisite?] |
Whew! While it’s hard to share these deeply held anxieties, once you can state your fears, you have the ability to examine and overcome them. They will probably continue to raise their nasty head from time to time, but maybe they won’t have such sharp teeth. For instance, I can look at my first fear “someone will have done it before” and recognize that all art has been done before… nothing is completely original. My job is to breathe my own essence into my art and see what comes out of it. I’ve largely tackled much of my fear of not knowing how to do something by taking classes, reading books, and watching tutorials… then by practice, practice, practice at the things I’ve learned. So, you can see how getting in touch with your fears allows you to overcome them.
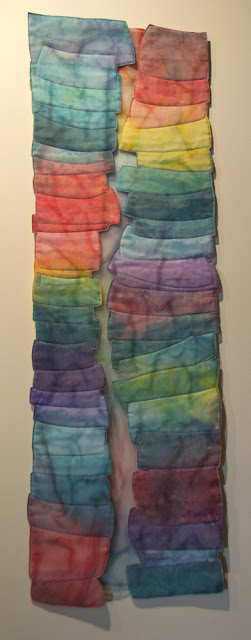 |
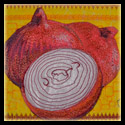
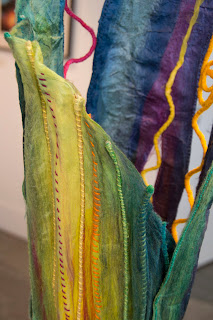
“Split Infinity” by Kathie R. Kerler
Fiber ($750.) |
4. Look at your life and find out what’s distracting you. What can you give up for a week? Try picking a thing or two and not doing it for a week… use the time instead to focus on your creative endeavor. When you give something up (a distraction) it clears time and mental space to focus.
5. What is your creative ambition? What obstacles do you have to meet this ambition? What are the vital steps to achieve it? If you don’t know where you’re going, it’s pretty hard to get there. Think about and even commit to paper where you’d like your creative pursuit to lead you. Do you want to be in art or quilt shows? Win them? Have a solo show? Sell your artwork? Get your work represented by a gallery? Begin with the end in mind and create a plan to get you to your dream.
6. One way to get yourself in a creative space is to develop a ritual you do each time that it’s time to start. This “triggering ritual” doesn’t need to necessarily be related to your art… just something you do
every time you’re going to start. Whether it’s brewing a cup of tea, doing some breathing exercises, taking a walk outside, looking through a book of inspirational artwork, or any other routine you can imagine, “by making the start of the sequence automatic,[you] make replace doubt and fear with comfort and routine” (Tharp p.17.) By consistently using a ritual to start your creative process, you’ll find yourself more confident and self-reliant, as well as being able to access your creativity more quickly.
 |
Detail of “Split Infinity” by
Kathie R. Kerler |
I’ve included a few more of the photos from the “Complex Threads: Students of Gail Harker Center for Creative Arts” exhibit. I’m awestruck by many of these pieces. But each of the 41 students who have pieces in this show have had to face the same challenges and choices you and I do every day. They’ve made the choice to forge ahead and let their fears be damned, and practice their crafts until they have developed the skill which is evident in their work.
“The routine is as much a part of the creative process as the lightning bolt of inspiration, maybe more.” (Tharp p 6). By choosing to commit to a regular routine, you are developing your creative muscle, and able to see progression in your artistic development. This is exactly why I decided to start the 5 x 7 Artist Challenge. For myself, I need to have a commitment and be accountable to someone (you, my readers) for keeping that commitment. More than that, I’ve always loved to be a mentor and teacher, so hope that through my writings and example, I’ll help others of you develop on your own path.
You might also be interested in: