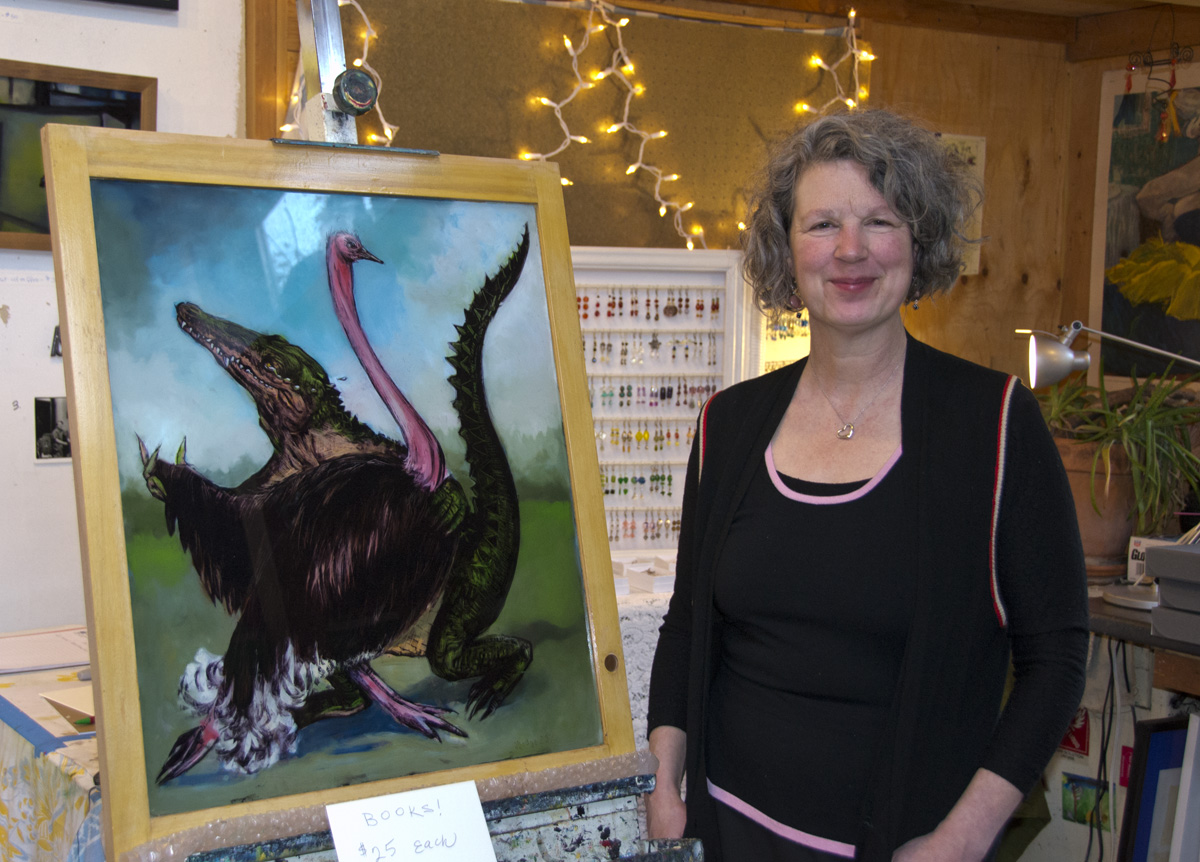
While I currently define myself as a “fiber and mixed media artist”, I struggle with the definition. I started early on as a seamstress,then as a costume designer. I moved to being a quilter for a short while, then specialized in art quilts. I’ve played around with many styles, but basically feel my niche is in representational art.

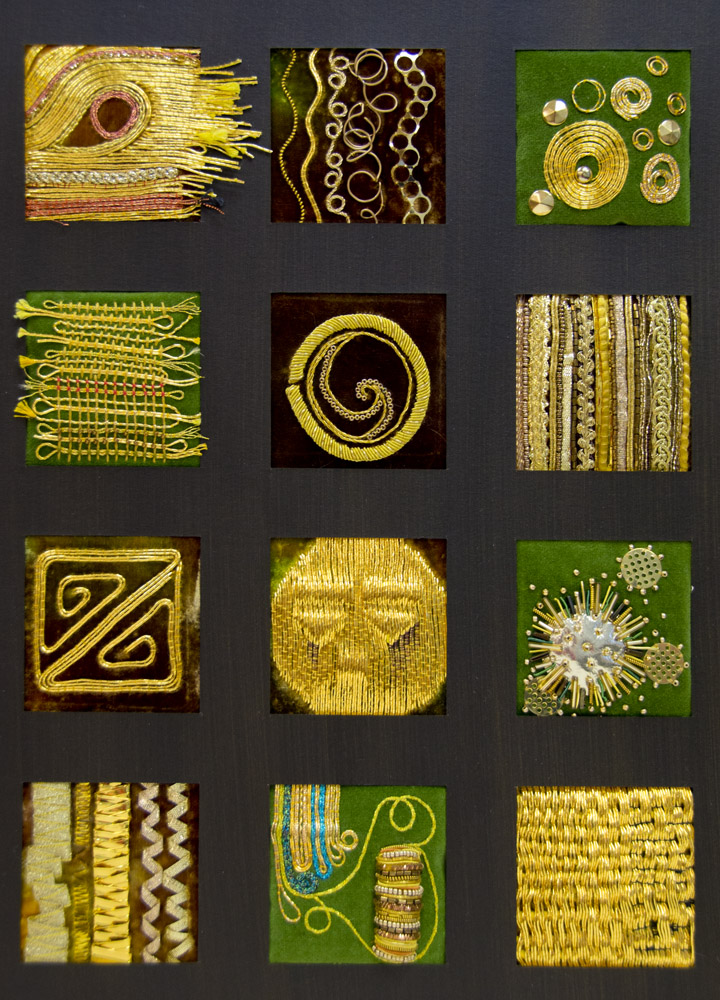
When I started falling in love with making my own fabric, I became a surface designer.  But, I was still pretty wrapped up in using my fabrics in my quilts.  Now, I’m moving even more to embroidery.  Whether it’s dense machine embroidery, thread painting, intricate machine quilting, or hand work, stitch seems to give me a tactile grounding that no other medium has for me.  But how do I define myself?  Where does this work fit in?

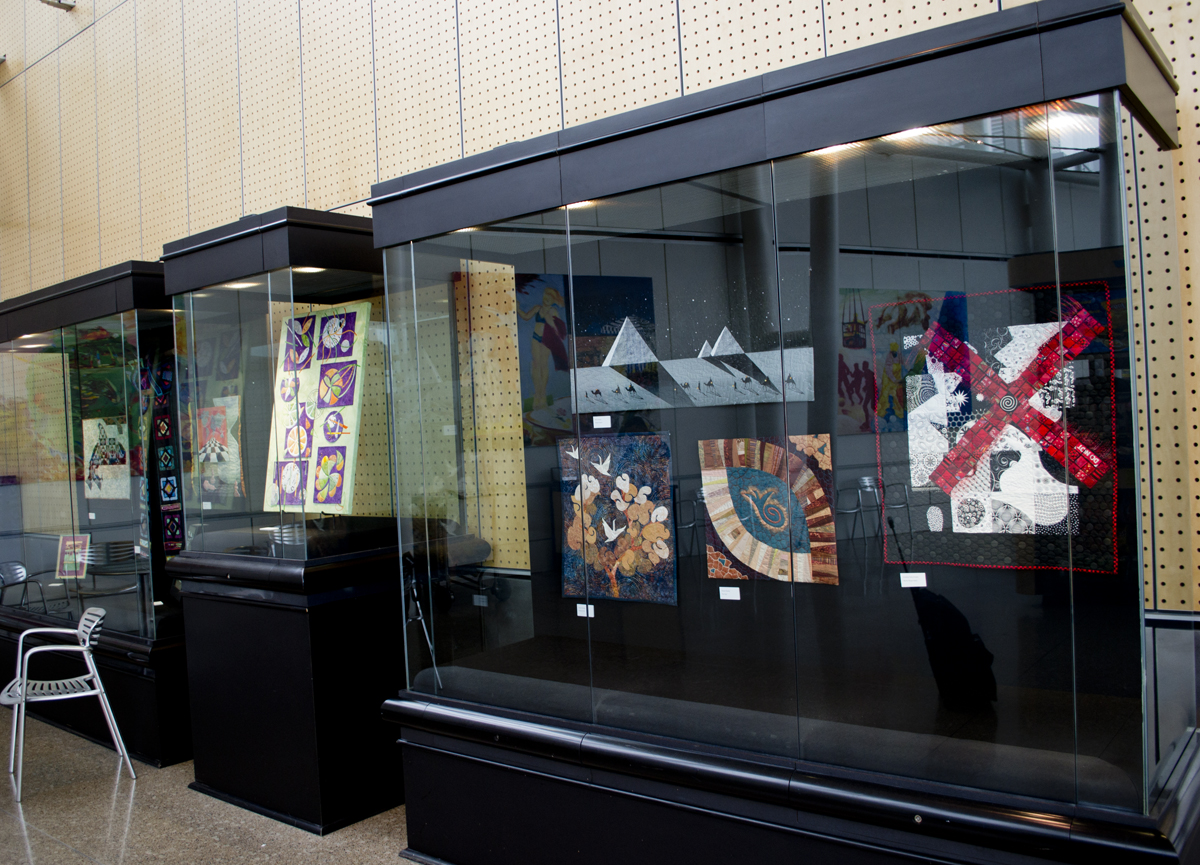
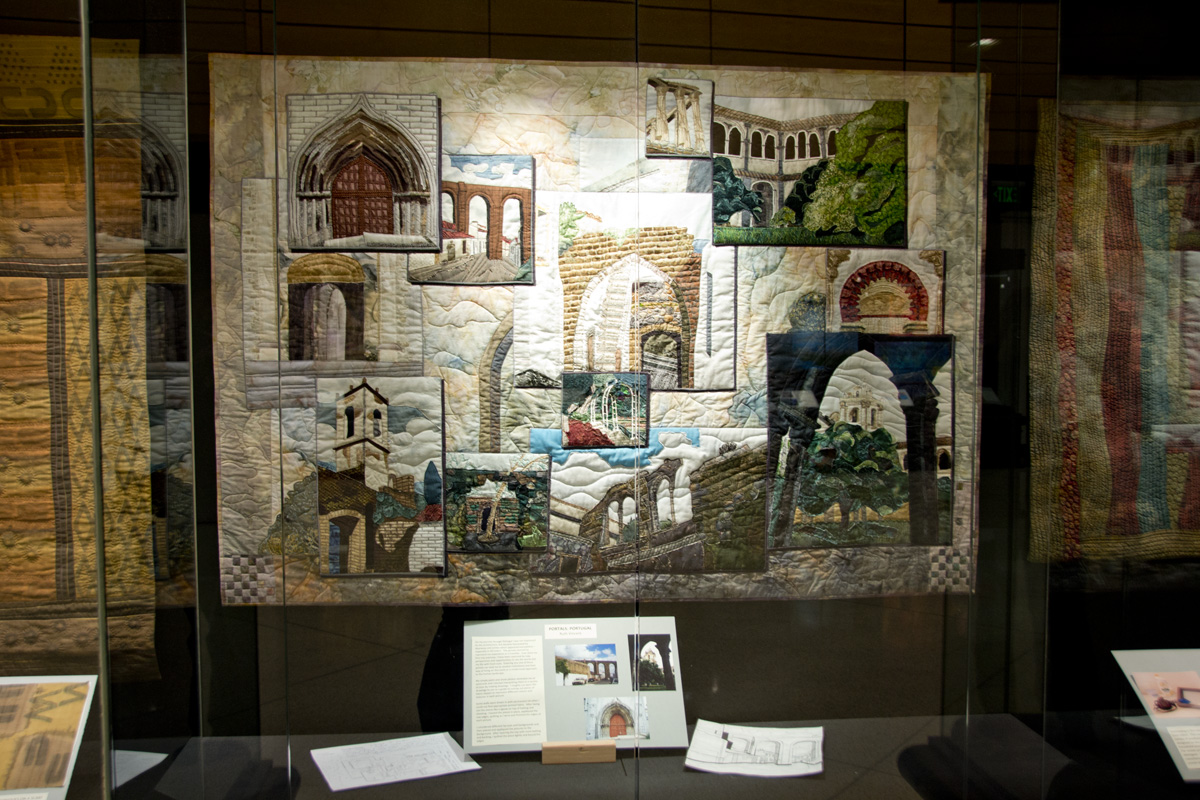
I know that most shows that are quilt-centered are very strict about their definition of a quilt… 3 layers connected with stitch, often needing to be professionally bound in some way.  If I decide to create a stitched piece and stretch it over a frame or canvas, then it won’t qualify.  So the question is, how important is it to me to fit into the categories that show producers have come up with?  Or even, how important is it to me to continue to exhibit?  Is it more important to create and then find the right niche for my creations, rather than creating to fit particular guidelines?

While I don’t feel like I have a strong enough discernible style or large enough body of work to go into solo shows, I do enjoy having my work out in front of the public.  The question is, will work that is not formally a “quilt” get accepted into shows?  Do I feel I need to break out of confines of being defined as a quilter?

I don’t know that I have the answer for that yet.  Maybe as I work out my goals for the upcoming year, it will become more clear to me.  How do you define yourself?  I’d love to hear your thoughts!

Quick tip for productivity:  I recently found the iPhone app “Evernote“.  This is a way to organize all your notes, including Word docs, Adobe Acrobat PDFs, and simple text inputs.  You can also use it online or download a version to your computer, as well.  They all sync together. You can organize notes into notebooks (so I have one notebook for my studio, one for family, one for my blog, etc.) and put as many items within each notebook as you want.  It’s a great tool!

Two blissful days of studying and practicing Elizabethan Embroidery… seems a little self-indulgent when I’m not prepared for the upcoming holidays, but wonderful nonetheless.  Our instructors, Gail Harker and Penny Peters were wonderful and the class was both intense, yet relaxing.  It may not seem like much, but here is my sampler of some of the types of stitches used in Elizabethan Embroidery:

Top row (from left to right)
Pearl Stitch (2 thicknesses of threads)
Fly Stitch
Stem Stitch with French knots
Satin Stitch leaf with back stitch outlining and vein
Laid-work grid with diagonal couching (a couched filling)
A Plaited Braid Stitch (in heavy wool yarn)

On the bottom row (left to right)
Running Stitch
Back Stitch
Couching
Split Stitch
Stem Stitch (loops)
Slanted Buttonhole Stitch
Chain Stitch
Knotted Stitch
Plaited Braid Stitch (in gold-wrapped thread)
Plaited Braid Stitch (in purple metallic glitterati)
We also did some needle-lace (not pictured.)        
Here is a close up of a few (I especially like the goldwork!):
This goldwork sampler was made by Penny Peters,
one of our teachers:
Here is another sample by Penny of laid-work:

You might also be interested in:
More Embroidery Samples
Snowflake Lane & How to Make a Knotted Blanket Stitch (with video!)

Queen Elizabeth 1 in stunningly embroidered
dress

We started the Elizabethan embroidery class today with a slide show of incredible examples both from paintings and surviving pieces of embroidery.  Of course, fashion followed the monarch herself.  Her intricately embroidered dresses were masterworks and sometimes were so heavily jeweled that she would have to be carried, rather than walking.  In this picture to the right, the embroidery depicts all sorts of wildlife, some quite realistic and others from imagination.

Botanical & natural themes in Elizabethan gold work

Themes for embroidery during the 16th century generally tended to coincide with what people knew: botanical and animal life.  In this piece of gold-work (where the thread is wrapped with pure gold), undulating vines with leaves, flowers, caterpillars  moths, and other bugs are depicted.   However, Queen Elizabeth had a penchant for being one of a kind (she even had laws against others being able to wear things as grandiose as hers… like the size of their neck ruffs!)

“I always feel like somebody’s watching me…”

In this painting, the embroidery design covering her dress is of eyes and ears, to imply that she could see and hear all and was omniscient over her subjects.  Wouldn’t that strike terror into the hearts of her court, servants, and the general populace!

On the left sleeve, a jeweled serpent wraps and entwines itself, holding a heart-shaped ruby from it’s mouth, representing the queen’s passions (the heart) being controlled by her wisdom (the serpent.)

Looking at examples from the Victoria and Albert Museum’s textile collection in London, as well as other British sources, we came to a greater understanding of the sheer magnitude of the embroidery movement during the Elizabethan era.

Other objects which I found interesting that were heavily embroidered were caskets (a type of box… not a coffin), books, and intricate gloves and mittens.  Maybe more on those another time.

After whetting our appetite with amazing image, we got down to stitchwork for the rest of the day.  So many stitches are able to be seen, but historians don’t always know exactly how they were done.  There are often more than one way to create the same stitch.  So, we’re learning many stitches, but not doing them necessarily in the same way which the were stitched in the past.

We are using authentic materials: wool, linen, and cotton for threads and fabric the most part, although some silk fabric was also used in that era.  I didn’t realize that the term “crewel embroidery” means stitching with wool.  Hopefully I’ll have a finished sampler or more done by the end of class tomorrow, so I can share some photos!

Look at the elaborately detailed embroidery

Preparations all complete, I’m off for two days to the Gail Harker Center for the Creative Arts to learn all about and practice Elizabethan Embroidery.  I’ve really been looking forward to this, as I do all of the classes at Gail’s, partially because so much of my work is done by machine that it’s nice to slow down and have the relaxing experience of hand work, and also because I really enjoy history and costume.

My love of costume goes way back to my childhood.  Sure, like many little girls I enjoyed playing ‘dress-up’, but I guess I never really outgrew it! I remember my parents taking us to a medieval faire when I was quite young, and I’ve continued attending many of them throughout my life.  When I was 14, I had my first job… working for a private seamstress doing alterations and clothing construction.  I tore out and replaced so many jeans zippers with elaborate top-stitching, that I pretty much swore off of garments for some time (and still have somewhat of an aversion to sewing clothing.)  When I started in college, I wanted to be a costume designer.  Unfortunately, I wasn’t really ready for college at the time, so went off to work after one semester.

Nikki and I in our historical costume at
Reno Friesian horse show

I did love to dress quite wild, either in vintage clothing or items that could be considered costumes in my early 20’s.  Then I started a small business making Rock ‘n Roller costumes for bands and fans, which I kept up for a short time.

Through the vagrancy of life, my main chapter of costumery took a hiatus for some time, though I never lost my love of it.  Then I had some fun in reviving this long-lost love of mine, when I had my beautiful Friesian mare and was showing her regularly.  From time-to-time, there were costume classes at the horse shows, so we both got dressed up in Renaissance gear.

My Friesian mare and I in full Renaissance costume 

Now, with my older son being a Viking aficionado and member of the Society for Creative Anachronism (SCA), I get to play at dress-up once again.  There’s even a chance that I can do demonstrations of the embroidery I’ll be learning at the “Ursulmas” event in January.  I’m so lucky to have two sons who actually like doing things with their Mom!

Well, I’d best be off to bed, as I need to get up early and drive to La Conner for class (about a 75 minute drive from our home.)


Snow-dyed and then stenciled using oil paint-sticks

 A couple of friends and fellow CQA members met at my home today to do some surface design on fabrics to be donated to Stashfest, a fundraising event to benefit the La Conner Quilt and Textile Museum.

Patricia Belyea, on the organizing committee for Stashfest, spoke at our CQA meeting yesterday and really generated some enthusiasm for the event, as well as coming over to play with making fabric today.  Patricia’s business, Okan Arts, imports yukata cottons from Japan, as well as promotes using these incredible Japanese fabrics.  She also teaches and makes artisan quilts.

Snow-dyed with Procion MX and
over-dyed with Dye-na-Flow

My other guest today, Carolyn Higgens, is one of two Washington state representatives for SAQA or Studio Art Quilt Associates, another group which I belong to.  Carolyn and I met some time ago in an ongoing Design series of classes by Lorraine Torrance.

Snow-dyed with Procion MX and
over-dyed with Dye-na-Flow

The most wonderful part of the three of us getting together was to find out the ties that we share… our commitment to promoting fiber art in our state.  Carolyn’s blog “Fiber Arts in the Northwest” showcases some fascinating artists from the area.  She hopes to expand to covering classes and events that are taking place in the Northwest.

Snow-dyed with Procion MX and
over-dyed with Dye-na-Flow

The photos here are some of the pieces of fabric which I’ve made to contribute to Stashfest on behalf of CQA.  I love doing surface design!  These four pieces were initially snow-dyed with Procion MX dyes, then I overdyed them with Dye-na-Flow.  The top one was additionally stenciled with Shiva oil paintsticks and Seta-color transparent paint.  I’m also going to be offering a tour of my studio, as one of the special “Stashfest Insider Visits” for sale as another aspect of the fundraiser.  Anyone who purchases my studio tour will be given a choice of two different one yard pieces of hand-dyed/ surface designed fabric.

Freehand machine embroidery piece I’m working
on for my 5 x7 challenge

I also started my first piece for my 5 x 7 personal challenge.  I know, I’m not really supposed to be starting this until 2013, but I wanted to get in the practice now!  So, here’s a look at the start of my machine stitched zebra which I’m creating.  I suppose I’m still a little anxious about committing myself to making something each week.  Does it count if I make something larger than 5 x 7?  For instance, if I finish a big project one week, but don’t do my 5 x 7?  What do you think?

Great news!  Today at our Contemporary QuiltArt Association board meeting, I presented the information and ideas for the Mighty Tieton show coming up in May.  The board was very excited about the show and potential of concurrent events, and voted to accept Art-Cloth as entries, as well as quilts.  Next, I’m going to need to figure out the logistics of putting out a call to artists outside of our organization, for outdoor / installation pieces.

From Mandy Greer’s “The Silvering Path”

Our speaker today, Mandy Greer, makes incredible huge installation pieces, costumes and performance art, mainly crocheted.  She recently returned from an artist residency in Iceland and has created some incredible new work.  Mandy shared a look at sources of inspiration with us, as well as luscious rich photos of her pieces, such as these shown here.  She had to leave rather shortly after her presentation, but I plan to get in touch with her to find out about the possibility of her being interested in coming to Tieton.  
“Dare alla Luce”- Mandy Greer 2008 at Bellevue Arts Museum
After our meeting, I swung by Nancy’s Sewing Basket on Queen Anne hill in Seattle, which has an incredible supply of fine fabrics, mainly dressmaking/ tailoring types of collections.  I needed to pick up some wool felt for the Elizabethan Embroidery class I’m taking up at Gail Harker’s Center for Creative Arts next week.
Jessica Dodge at her studio
From there, I headed to West Seattle, to go to the Open Studio/Sale of an artist friend whom I’ve known for  almost 30 years, Jessica Dodge.  Jessica actually gave me art lessons when I was in my early 20’s, in drawing and painting.  Her incredible oils painted in reverse on window glass vibrantly engage the viewer.  
To complete an already full day, I’m working on dyeing and painting fabrics tonight for a Play-date with other CQA artists here at my home tomorrow.  Our organization has partnered with Stashfest, a fundraising effort for the LaConner Quilt and Textile Museum.  CQA artists are making hand-dyed, painted, printed, silk-screened or other specialty fabrics to see at Stashfest, with the proceeds of the sales being split between the museum and CQA.  So, back to the dye studio for a little more late night fun!

Here in the Northwest, beautiful trees and greenery surround us.  Having such a lush environment sometimes makes me a little unaware of the splendor of the amazing foliage I see each day.  However, the Pacific Madrona (or Madrone) stands up and screams “Look at me!” The distinctive red-rust bark is noticeable from afar, yet gets even more interesting as you get closer.  The bark seems to go in cycles with the rusty outer layers peeling off and uncovering an under-layer of nearly florescent lime green bark.  It has dimples and crags, as if it has been through really rough times.

Now, the Madrona tree does often grow along the rocky Pacific coastline, so it can see its share of harsh winds and weather.  However, seeing these majestic beauties in areas surrounds with other trees, where they aren’t subject to undue forces from Mother Nature, they still show all the pock marks and unique characteristics which make them so fascinating.

I hope you enjoy these photos I’ve taken of a few Pacific Madronas.  Expressing them in fiber is on my list!

You might also enjoy:
Skagit Skies
Sunshine and Sand
Finding Inspiration Every Day

WA State Convention Center

I’m spending the day at a Photoshop for Photographers workshop, held in a giant ballroom at the Washington State Convention Center in downtown Seattle. I’ve been coming to these specialized training a in Adobe Photoshop for about 12 years now… Generally one happens each per year in Seattle. Some are geared for photographers, as this one is, while others for designers in either print or digital media. As my professional background has been in website design and development, I’ve been a member of NAPP (National Association of Photoshop Professionals) and always love to learn a few more tricks in this amazing program.

At the Photoshop CS6 for Photographers Class
(about 400 in attendance)

I love taking photos… whether on a trip or around my home. I see beauty in many minute details. Years ago, I was an avid scuba diver, and my favorite things to see were some of the very small and delicate creatures. I’d dive with macho guys who were always searching for big 4 foot long ling cods or 3 foot across sun stars (Pycnopodia helianthoide) while I was content to watch a delicately feathered iridescent nudibranch.

I love taking series of photos on particular topics. For instance, I have many remarkable doors, mainly from Europe, as a collection. I’m excited by trees, particularly their bark, and must have hundreds, if not thousands, of detailed shots. I’ve thought for some time that my photos would help me move more to series work in my fiber art. One of my struggles is that I’ve tried many styles, but haven’t really found my own discernible style in my art. I’ve already determined that my number one goal for 2013 is to develop my voice as an artist.  In fact, one of my purposes for having my 5 x 7 personal challenge is to work on developing my artistic style.

After a great day full of learning, I’m looking forward to applying the tricks and techniques shared today on my photos.  I’ll share some soon!

Do you shudder with fear or turn away with disdain when you see a show that has a theme?  It seems that many calls to artists request the artwork to meet an aspect of a theme, and some jurors are stricter than others about how closely a piece meets that criteria or not.

Moulin Rouge Deux (on right) at the Airport Appetizer show

As the Co-chair for Exhibitions for the Contemporary QuiltArt Association, I’ve seen both jurors who would drop a piece for not seeming to have anything to do with a theme, and others who were open to a very broad interpretation (such as the title had a word that related to the theme, but there was no other discernible connection.)

 Being more of a representational artist, working with a theme usually works well for me.  I like having a launching pad for my ideas.  For instance, at one show at the SeaTac international airport, my quilt “Moulin Rouge Deux” was displayed, along with other quilts with international elements.  You can clearly see the pyramids in the other quilt alongside mine.

Currently, SeaTac has another exhibit from CQA, this one with the name and theme of “Journeys.”  In this show, we had some fabulous entries which took many different interpretations of the theme.  I have two additional pieces in this show.  Here are some photos from this exhibit:

 Many interpretations of a broad theme.  After all, we can take literal journeys, by foot, car, horse, rail, air, boat, etc. or we can take spiritual journeys, journeys of the heart, or journeys of our imagination.

Rainier: Two Views by Colleen Wise

But what about when the theme is more difficult or restrictive?  I’ll go into that more tomorrow.  Pleasant dreams…yet another type of journey!

Piece I purchased by artist Gwen Lowery

Last Friday, a new favorite of mine, fiber artist Gwen Lowery, had a special showing of her work at Gail Harker Center for Creative Arts in La Conner, WA.  I became aware of Gwen’s work lately, when I purchased a piece she had made from an auction to support the new gallery being built at Gail’s center.  To find out more about this auction see my post “52 Weeks of Art- a Personal Challenge.”

Gwen’s work is incredible dense machine stitching. She was in one of the first diploma classes given by Gail here in the United States, and holds a City & Guilds Diploma in Design and Embroidery from the Gail Harker Center for Creative Arts.  Her pieces she has been working on currently are quite large.  One of the pieces she shared with us was approximately 12 x 15 feet ( 4 x 5 meters).  Gwen’s work is being shown internationally.  Unfortunately, since the pieces she shared with us are committed to shows, so I can’t share photos of them.  However, you can see some of her work on Gwen’s website and also on a page as an award winner from the Artist Trust Edge program for 2011.  Gwen was also a guest writer on Gail Harker’s blog with her post “Going Big“.  I look forward to keeping an eye on her progress as an artist and as an inspiration to my work, personally!