Our exhibition for the Gail Harker Center for Creative Arts for Level 3 Advanced Experimental Stitch is now complete. I say this with a sigh of relief twinged with a bit of sadness. We’ve been in this course for the last 2 1/2 years… meeting every three months and working on homework just about daily during that time. My friends in the class and I have grown artistically through the process that our mentors, Gail Harker and Penny Peters, have instilled as a way of working, applying design and testing to our artwork.

Christina’s large-scale wall piece is a 3D Stumpwork heron titled “Focused Intent”

Graduates (L to R) Marilyn Olsen, Christina Fairley Erickson, Nancy Drake, Tutors Penny Peters and Gail Harker, and graduate Barbara Fox
As part of the exhibition, each of the graduates had to give a talk and answer questions on some aspect of their studies or artwork. I spent the majority of my time explaining my process for making my large-scale Stumpwork (or 3D embroidery) heron.

Christina describes how her 3D Stumpwork embroidery process includes making a painting of the design.

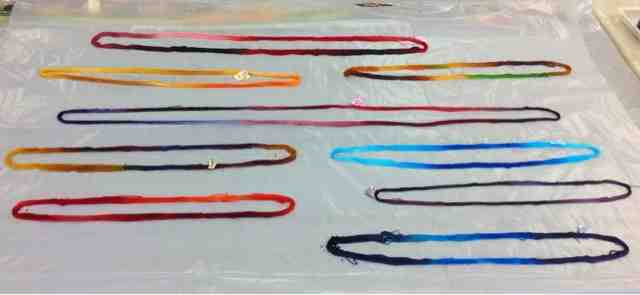
Christina shares her sketchbook of samples for making the 3D heron.
A second assessment piece was a 3D project (the wall piece wasn’t required to be 3D, I decided to stretch my artistic abilities and make it Stumpwork). My vessel based on a wave went through numerous renditions. Perfecting the shape through making models from paper, then from the heavy duty interfacing that stiffens the vessel took much more time than one would imagine. Not to mention all the hours of beading and hand stitching!

“Upwelling” 3D textile art vessel by Christina Fairley Erickson
We also had two historical projects for the class. One focused on Native American stitchwork and the other on a study of Stitchwork brought to the US from European immigrants. We made artwork based on pieces we found in our research, including some stitched samples.

Some spreads from Christina’s Native American Stitch Study

Christina’s sample based on a Haida Eagle button blanket
I’m so appreciative of our tutors/mentors Gail and Penny, who led us on this journey. As I have witnessed from their other class exhibitions, each of us as students were given the same guidelines but have developed our artwork into something uniquely our own. I look forward to continuing on in class at the next level, when it’s offered… but I also look forward to catching my breathe after such a big push to put on an exhibition of this magnitude! Here are some more photos of my work at the show (wish I could fit it all in!):

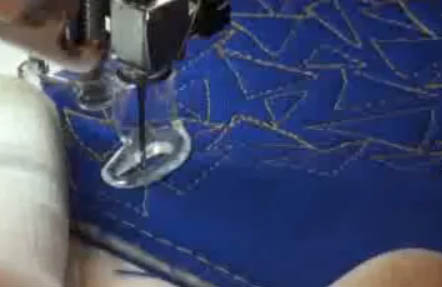
Dark & Moody contemporary hand and freehand machine embroidery

“It’s NOT the Real Thing” – darned Pepsi cup and Christina’s sketchbook design for it worried everyone that someone had left a drink on the table with artwork!

“Crested Serpent Eagle” and “Cheeky Blue Heron”

“Feelin’ Good Triptych” by Christina Fairley Erickson was based on listening the the song “Feelin’ Good” by Michael Buble